In this article, you will learn how to use jimp in React to perform the most common image processing operations. As you are about to learn, this popular JavaScript library allows you to effortlessly manipulate an image with a few lines of code.
What is Jimp?
Jimp stands for JavaScript Image Manipulation Program, and it is one of the most popular open-source image processing libraries, with more than one million weekly downloads. As stated on the official GitHub page, Jimp is a Promise-based library that relies entirely on Vanilla JavaScript. This means that it has no native or external dependencies, as you can verify here. This makes it more reliable and lightweight.
Jimp comes with several functions that allows you to transform your images in endless ways. Particularly, it includes the resize(), blur(), crop(), rotate() functions and many others. At the time of writing, these are image formats supported by Jimp:
Let’s now see how to use the Jimp transformation functions.
Prerequisites
This is the list of prerequisites you need to make the React applications using Jimp we are about to build works:
- Node.js and npm 7+
react>= 17react-dom>= 17jimp>= 0.16
You can add jimp to your project’s dependencies by launching the following command:
npm install jimpNow, you have everything required to start getting your hands dirty with Jimp in React.
Basic Image Processing in Jimp
All the Jimp usage examples presented below share the same logic. So, let’s address it immediately.
Specifically, this is what a basic JimpDemo component looks like:
import Jimp from 'jimp';
import { useEffect, useState } from 'react';

export function JimpDemo({ imageUrl }) {
  const [jimpImage, setJimpImage] = useState(undefined);
  const [image, setImage] = useState(undefined);
  const [transformedImage, setTransformedImage] = useState(undefined);

  // loading an image every time imageUrl changes
  useEffect(() => {
    const loadImage = async () => {
      // generating the Jimp data structure
      // loading an image from an URL
      const jimpImage = await Jimp.read(imageUrl);
      setJimpImage(jimpImage);

      // transforming jimpImage into its Base64 representation
      // and storing it
      const image = await jimpImage.getBase64Async(Jimp.MIME_JPEG);
      setImage(image);
    };

    loadImage();
  }, [imageUrl]);

  // generating the transformed image
  // as soon as the Jimp data structure is ready
  useEffect(() => {
    if (jimpImage) {
      const transformImage = async () => {
        // performing the Jimp image processing operation
        // on jimpImage...

        // e.g. jimpImage.crop(100, 100)

        // storing the transformed image
        // in Base64 format
        const transformedImage = await jimpImage.getBase64Async(Jimp.MIME_JPEG);
        setTransformedImage(transformedImage);
      };

      transformImage();
    }
  }, [jimpImage, height, width]);

  return image && jimpImage ? (
    <>
      <h1>Original Image</h1>
      <img className="originalImage" src={image} alt="Original" />
      <h1>Transformed Image</h1>
      <img
        className="transformedImage"
        src={transformedImage}
        alt="Transformed"
      />
    </>
  ) : (
    <>Loading...</>
  );
}
First, the imageUrl prop value storing the URL to the image you want to transform is used to generate a Jimp data structure. This happens in the first useEffect() function when launching Jimp.read(). This function takes the path to a file or a URL and returns a Promise with the Jimp data structure you call the manipulation functions on. Also, the Base64 representation of the original image is stored to be able to show it in the HTML <img> tag.
Keep in mind that the function passed to useEffect() should not be async. This is why an internal async function was defined and then called instead.
Then, the second useEffect() function is called as soon as jimpImage is initialized and takes care of performing the transformation function on the original image. Again, the Base64 representation of the transformed image is saved.
Finally, both the original and transformed images are rendered by the component. As you can imagine, what will change in the following examples will be the Jimp image transform function called, which might also require extra props.
Cropping an image
The Jimp crop() function crops an image at a given point to a given size.
jimpImage.crop(x, y, width, height)x: the x coordinate to crop fromy: the y coordinate to crop fromwidth: the width of the crop regionheight: the height of the crop region
See it in action in the live example below:
Resizing an image
The Jimp resize() function resizes an image to set width and height using a 2-pass bilinear algorithm.
jimpImage.resize(width, height);width: the width to resize the imageheight: the height to resize the image to
See it in action in the live example below:
Rotating an image
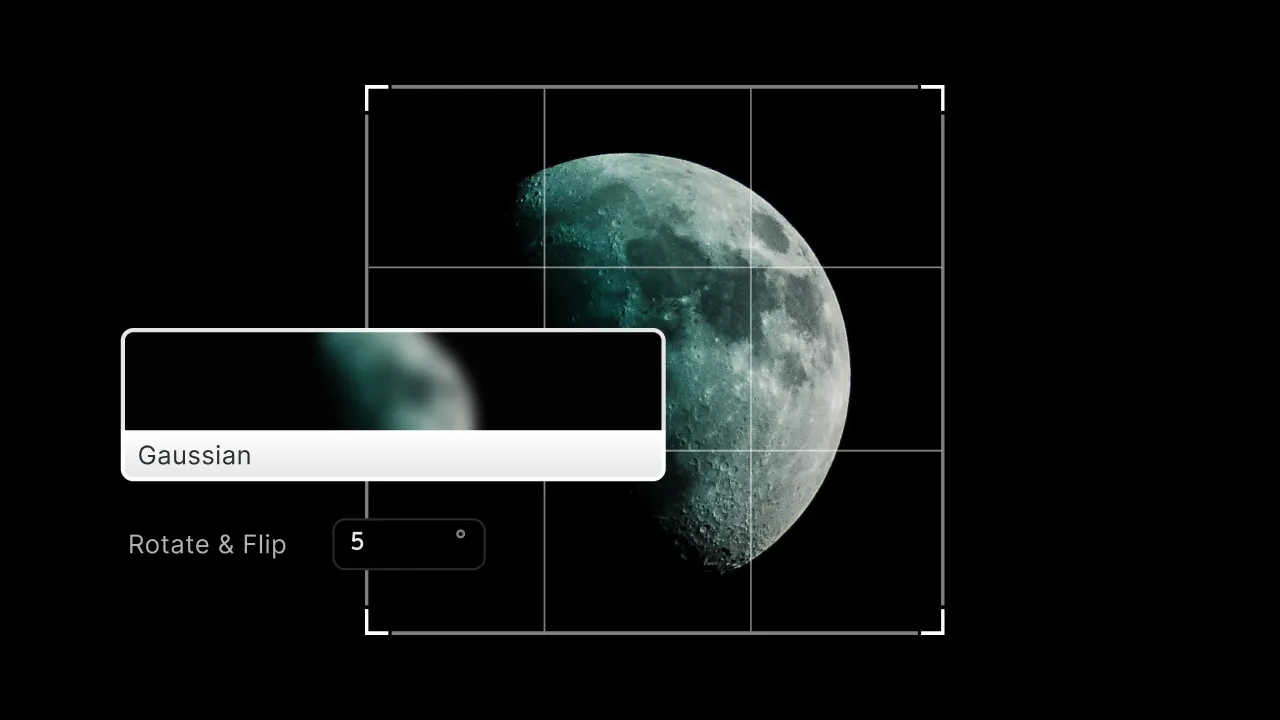
The Jimp rotate() function rotates an image clockwise by a number of degrees. Note that the width and height of the image will be resized accordingly by default.
jimpImage.rotate(degrees);degrees: the number of degrees to rotate the image by
See it in action in the live example below:
Filtering an image
Although Jimp does not come with a single filtering function, it offers several functions to achieve the desired results. For example, you can implement an image filtering feature by harnessing the blur(), color(), dither(), normalize(), or threshold() functions.
Let’s see some of them in action in the live demo below:
Jimp vs PhotoEditor SDK
Undoubtedly, Jimp is a powerful tool. It’s an amazingly lightweight and simple library that offers so many image manipulations. On the other hand, achieving complex results requiring multiple manipulations to be performed on the end user’s needs could become challenging. In detail, this would require an advanced, robust, reliable, and easy-to-use UI that only a commercial solution such as IMG.LY’s PhotoEditor SDK can offer.
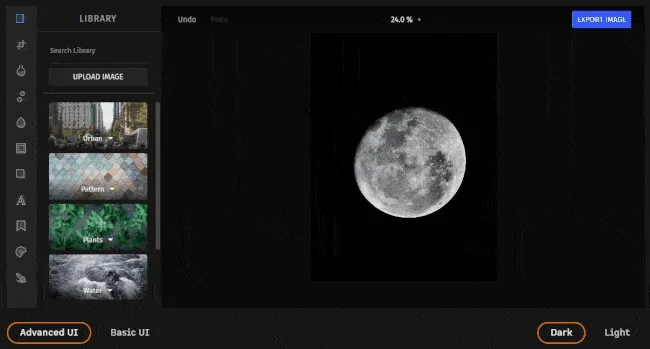
You could build such a UI yourself on top of Jimp, but this would take a lot of time and effort. This is especially true if you want to implement a general-purpose application, such as an image processing application. For limited and specific tasks without any user interaction, Jimp is the ideal solution.
Also, now you can take a look at the CreativeEditor SDK which is a more advanced API solution and obvious alternative to Jimp!
Conclusion
Today we learned about the jimp JavaScript library, its dependencies, how it works, and how to use it in React real-world scenarios. Specifically, this npm library comes with several image manipulation functions that can be used with a few lines of code. However, building a complex image editing application on top of it would require an entire UI, and you might want to avoid spending time on it. In this case, you should look into a more advanced, fully-featured, and ready-to-use solution – such as PhotoEditorSDK.
Thanks for reading! We hope that you found this article helpful. Feel free to reach out to us on Twitter with any questions, comments, or suggestions.
To stay in the loop with our latest articles and case studies, subscribe to our Newsletter.