FFmpeg is a powerful multimedia framework used for video and audio processing. From transcoding and editing to streaming, its versatility makes it a go-to tool for developers and media professionals. However, installing FFmpeg directly on your system can sometimes lead to dependency conflicts or version mismatches.
This is where Docker comes in. If you’ve never used Docker before, think of it as a platform that lets you package applications and all their dependencies into something called a container. A container is like a lightweight, portable box that holds everything your application needs to run operating system libraries, binaries, and configurations. Unlike virtual machines, containers don’t include a full guest operating system, which makes them much more efficient and faster to start up. If you’re unfamiliar with FFmpeg itself, our Ultimate Guide to FFmpeg provides a comprehensive introduction.
The main takeaway is this: Docker ensures that your application runs the same way everywhere, whether on your laptop, a colleague’s computer, or a cloud server. That means no more “it works on my machine” problems. With FFmpeg inside a Docker container, you get a clean, isolated environment for media processing that you can easily replicate or share with others.
In this guide, we’ll walk through two approaches for using FFmpeg with Docker:
- Running FFmpeg with a pre-built Docker image.
- Building your own Dockerfile for more customization.
Before we start, we need to setup Docker on our machine. Lets do that now
Installing Docker
Before working with FFmpeg in Docker, you need to have Docker installed on your system. The installation process varies depending on your operating system, but Docker provides excellent step-by-step instructions.
- Check system requirements. Docker Desktop works on macOS, Windows, and Linux distributions. Make sure your system meets the minimum requirements.
- Windows / macOS: Download Docker Desktop from the official download page. Run the installer, and follow the on-screen instructions. Once installed, Docker will run as a background service.
- Linux: On Linux distributions like Ubuntu, you can install Docker directly via the package manager. For example:
Test Docker with a hello-world container. Run the following command to check that Docker is working correctly:
docker run hello-world
This command pulls a small test image from Docker Hub, runs it, and prints a confirmation message.
Verify the installation. After installation, open a terminal (or PowerShell on Windows) and run:
docker --version
This should display the installed Docker version.
Install Docker Desktop (recommended for beginners)
sudo apt-get update
sudo apt-get install docker.io
Alternatively, follow the Linux installation guide for your distribution.
Once you see the “Hello from Docker!” message, you’re ready to start working with FFmpeg inside containers.
Approach 1: Using a Pre-Built FFmpeg Docker Image
The quickest way to get started with FFmpeg in Docker is to use an image that’s already prepared for you. One of the most widely used options is the image maintained by jrottenberg.
Pulling the Image
Start by opening your terminal and pulling the official FFmpeg image:
docker pull jrottenberg/ffmpeg
This downloads the latest FFmpeg image and makes it available on your system. To deploy your containerized FFmpeg pipelines on low‑cost cloud infrastructure, see our guide on running FFmpeg on AWS Spot Instances, and for deployment on Google Cloud, follow our guide on running FFmpeg on GCP.
Running a Container
Once the image is available, you can launch a container and access FFmpeg inside it:
docker run -it jrottenberg/ffmpeg bash
This command starts a container, opens a bash shell inside it, and gives you access to FFmpeg as if it were installed directly on your machine.
Using FFmpeg
Inside the container, you can run FFmpeg commands just like you normally would. For example, to convert a video file from MP4 to AVI:
ffmpeg -i input.mp4 output.avi
If your input files are on your host machine, you’ll want to mount them so the container can access them. A common pattern is:
docker run --rm -v $(pwd):/data jrottenberg/ffmpeg -i /data/input.mp4 /data/output.avi
Here, your current working directory is mounted into the container at /data, allowing you to process files without copying them into the container.
-rm: Automatically remove the container when it exits (keeps things clean).-v $(pwd):/data: Mounts your current directory ($(pwd)prints it) into/datainside the container.jrottenberg/ffmpeg: The ffmpeg image.ffmpeg -i /data/input.mp4 /data/output.avi: The FFmpeg command that runs inside the container, reading from and writing to/data.
Want to build an app that crops and trims videos? Our Flutter tutorial shows how to crop and trim videos in Flutter using FFmpeg within a mobile UI.
Exiting the Container
When you’re done, simply type exit to leave the container and return to your host terminal.
Approach 2: Building a Custom Dockerfile with FFmpeg
Sometimes, you might need more control over your environment—for example, specifying which version of FFmpeg you want to use or installing additional tools. In that case, building your own Docker image is the better choice.
Creating a Dockerfile
Start by creating a file named Dockerfile with the following content:
FROM ubuntu:latest
RUN apt-get update && apt-get install -y ffmpeg
This simple Dockerfile uses Ubuntu as the base image and installs FFmpeg on top of it.
Building the Image
Navigate to the directory containing your Dockerfile and build the image:
docker build -t custom-ffmpeg-image .
This creates a new image called custom-ffmpeg-image.
Running Your Custom Image
Now you can start a container from your custom image:
docker run -it custom-ffmpeg-image bash
This gives you the same FFmpeg functionality but within a controlled environment that you designed. Now, you are currently in the terminal of the UbuntuGitHub system with ffmpeg installed and ready to use. You can either mount your volume to the container or copy the input video to the container to process it with ffmpeg.
You can use this GitHub repository for the code.
Beyond the Basics
Depending on context and requirements, there are a few additional ways people run FFmpeg in Docker that you might find useful. Lets sneak-peak into those approaches now:
Multi-stage builds
Instead of installing FFmpeg on top of Ubuntu in a simple Dockerfile, some projects use a multi-stage build where the first stage compiles FFmpeg from source (with specific options or codecs), and the final stage copies only the compiled binaries into a minimal image (like alpine). This results in much smaller images, which is valuable for production environments.
FROM alpine:latest as build
RUN apk add --no-cache build-base yasm
RUN git clone <https://git.ffmpeg.org/ffmpeg.git> ffmpeg \\
    && cd ffmpeg \\
    && ./configure --enable-gpl --enable-nonfree \\
    && make && make install

FROM alpine:latest
COPY --from=build /usr/local/bin/ffmpeg /usr/local/bin/
Using FFmpeg inside a larger containerized workflow
In practice, FFmpeg is often not run alone. For example, it might be used as part of a media processing pipeline in Kubernetes or Docker Compose with other services like Nginx, Node.js, or a message queue. In those cases, FFmpeg runs inside a dedicated container, and files are passed to it via mounted volumes or network streams. For a Docker‑based pipeline with REST APIs and worker queues, see our production‑ready batch video processing server guide.
GPU-accelerated FFmpeg builds
For users doing heavy video processing, using NVIDIA GPU support is crucial. Docker supports GPU acceleration via -gpus all and NVIDIA’s base images. There are specialized FFmpeg images (like nvidia/cudabased builds) that enable hardware-accelerated encoding/decoding (NVENC, NVDEC, CUDA).
docker run --gpus all -it nvidia/cuda:12.2.0-base ffmpeg ...
This is extremely relevant for modern workloads (e.g., streaming, AI video processing).
Which Approach Should You Choose?
If you only need FFmpeg occasionally and want the fastest way to get started, the pre-built image is the way to go. It saves time and effort, and you’ll be up and running within minutes.
On the other hand, if your workflow requires specific versions of FFmpeg, or if you’d like to bundle other tools into the same container, creating a custom Dockerfile gives you that flexibility.
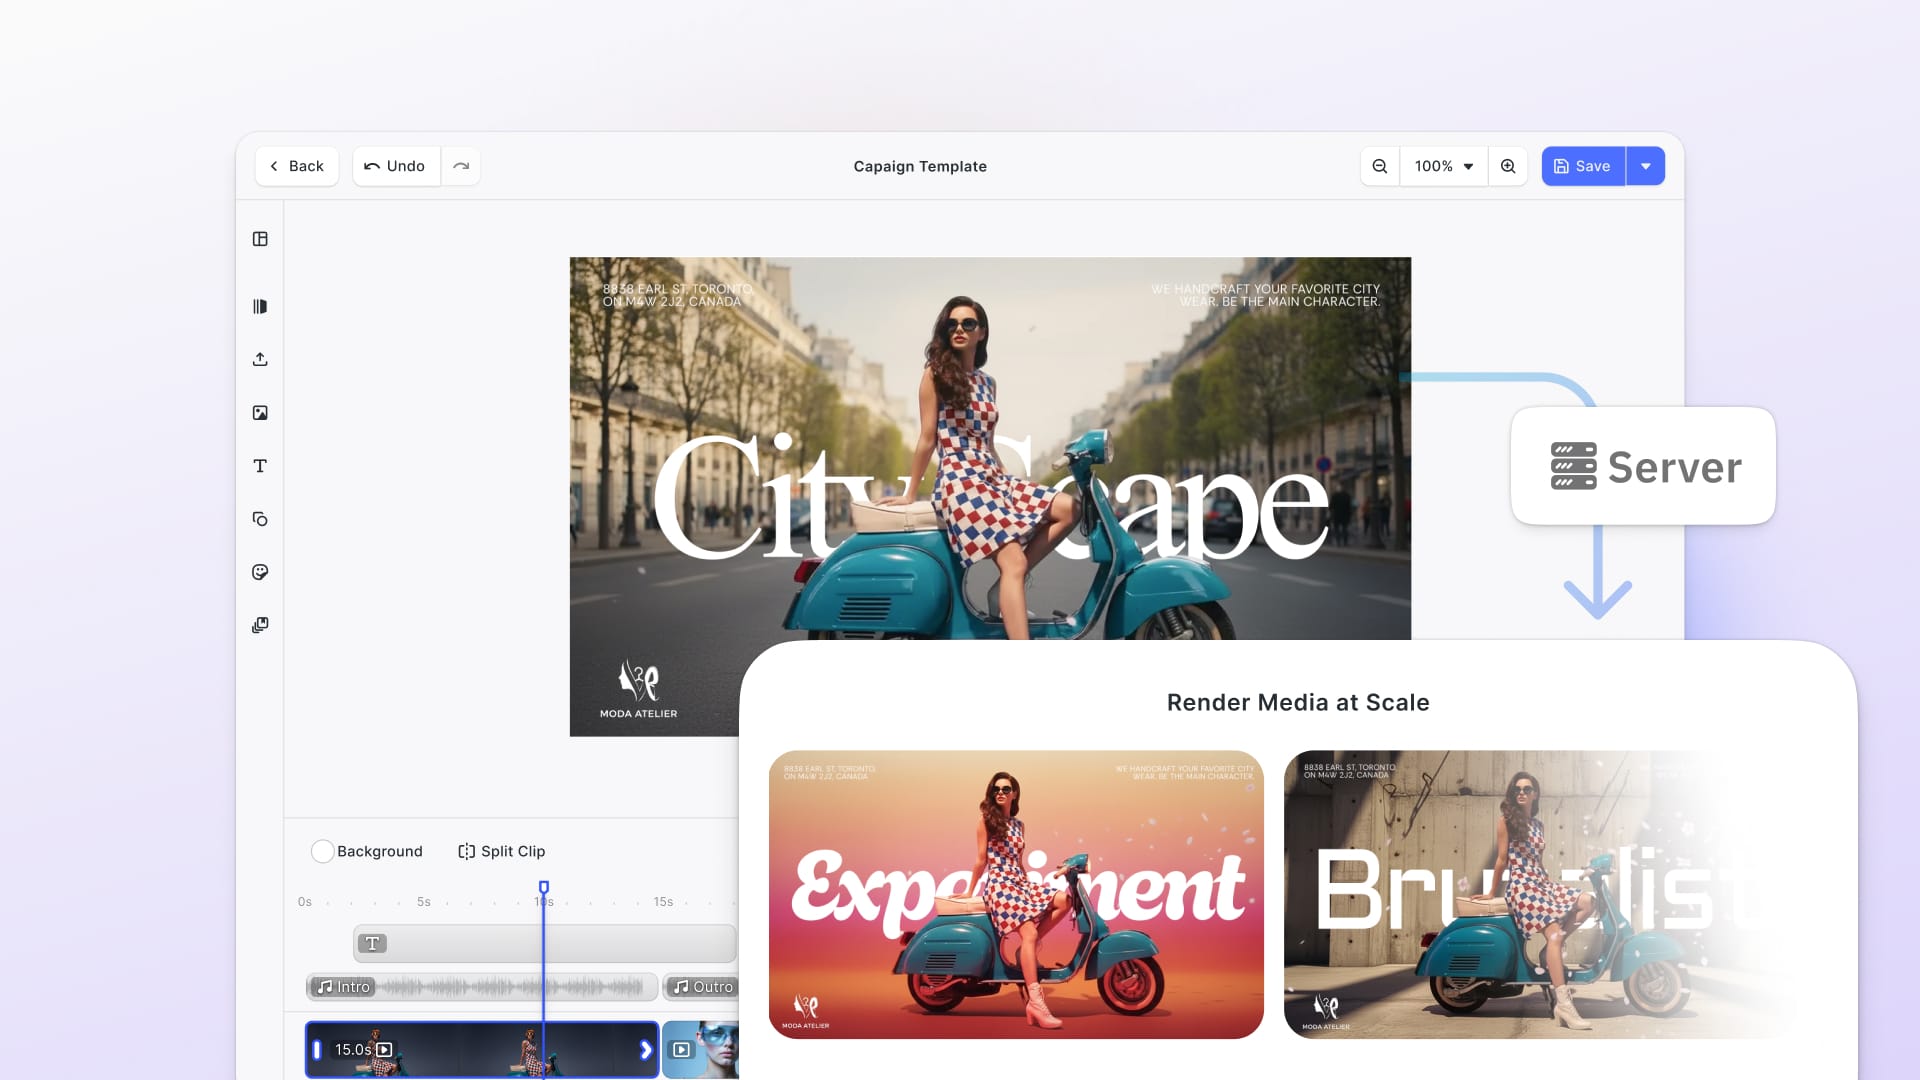
While Dockerized FFmpeg is powerful on its own, its real strength becomes clear when integrated into larger developer workflows. For example, CreativeEditor SDK (CE.SDK) provides a full-featured, customizable editing environment for images, graphics, and videos. When developers extend CE.SDK with Dockerized FFmpeg, they unlock a scalable way to handle demanding media tasks behind the scenes.
Conclusion: Why FFmpeg in Docker is the Smart Choice
Running FFmpeg inside Docker combines the power of a world-class media framework with the reliability and portability of containers. Instead of fighting dependency issues on your local system, you get a clean, isolated environment that works consistently across machines, teams, and production servers.
- If you need speed and simplicity, a pre-built image like
jrottenberg/ffmpeggets you up and running in minutes. - If you want control and customization, a custom Dockerfile ensures your build has the exact codecs, libraries, and dependencies you need.
- For advanced scenarios, GPU acceleration, multi-stage builds, or cloud pipelines, Docker ensures FFmpeg scales well into modern production environments.
And beyond standalone usage, frameworks like **CE.SDK** demonstrate how FFmpeg’s capabilities can power full-featured creative applications. Whether it’s transcoding video, exporting edits, or automating workflows, running FFmpeg in Docker keeps your setup clean and future-proof.
By combining Docker’s portability with FFmpeg’s versatility, you’re not just solving installation problems, you’re setting up a foundation for professional, scalable multimedia processing.

