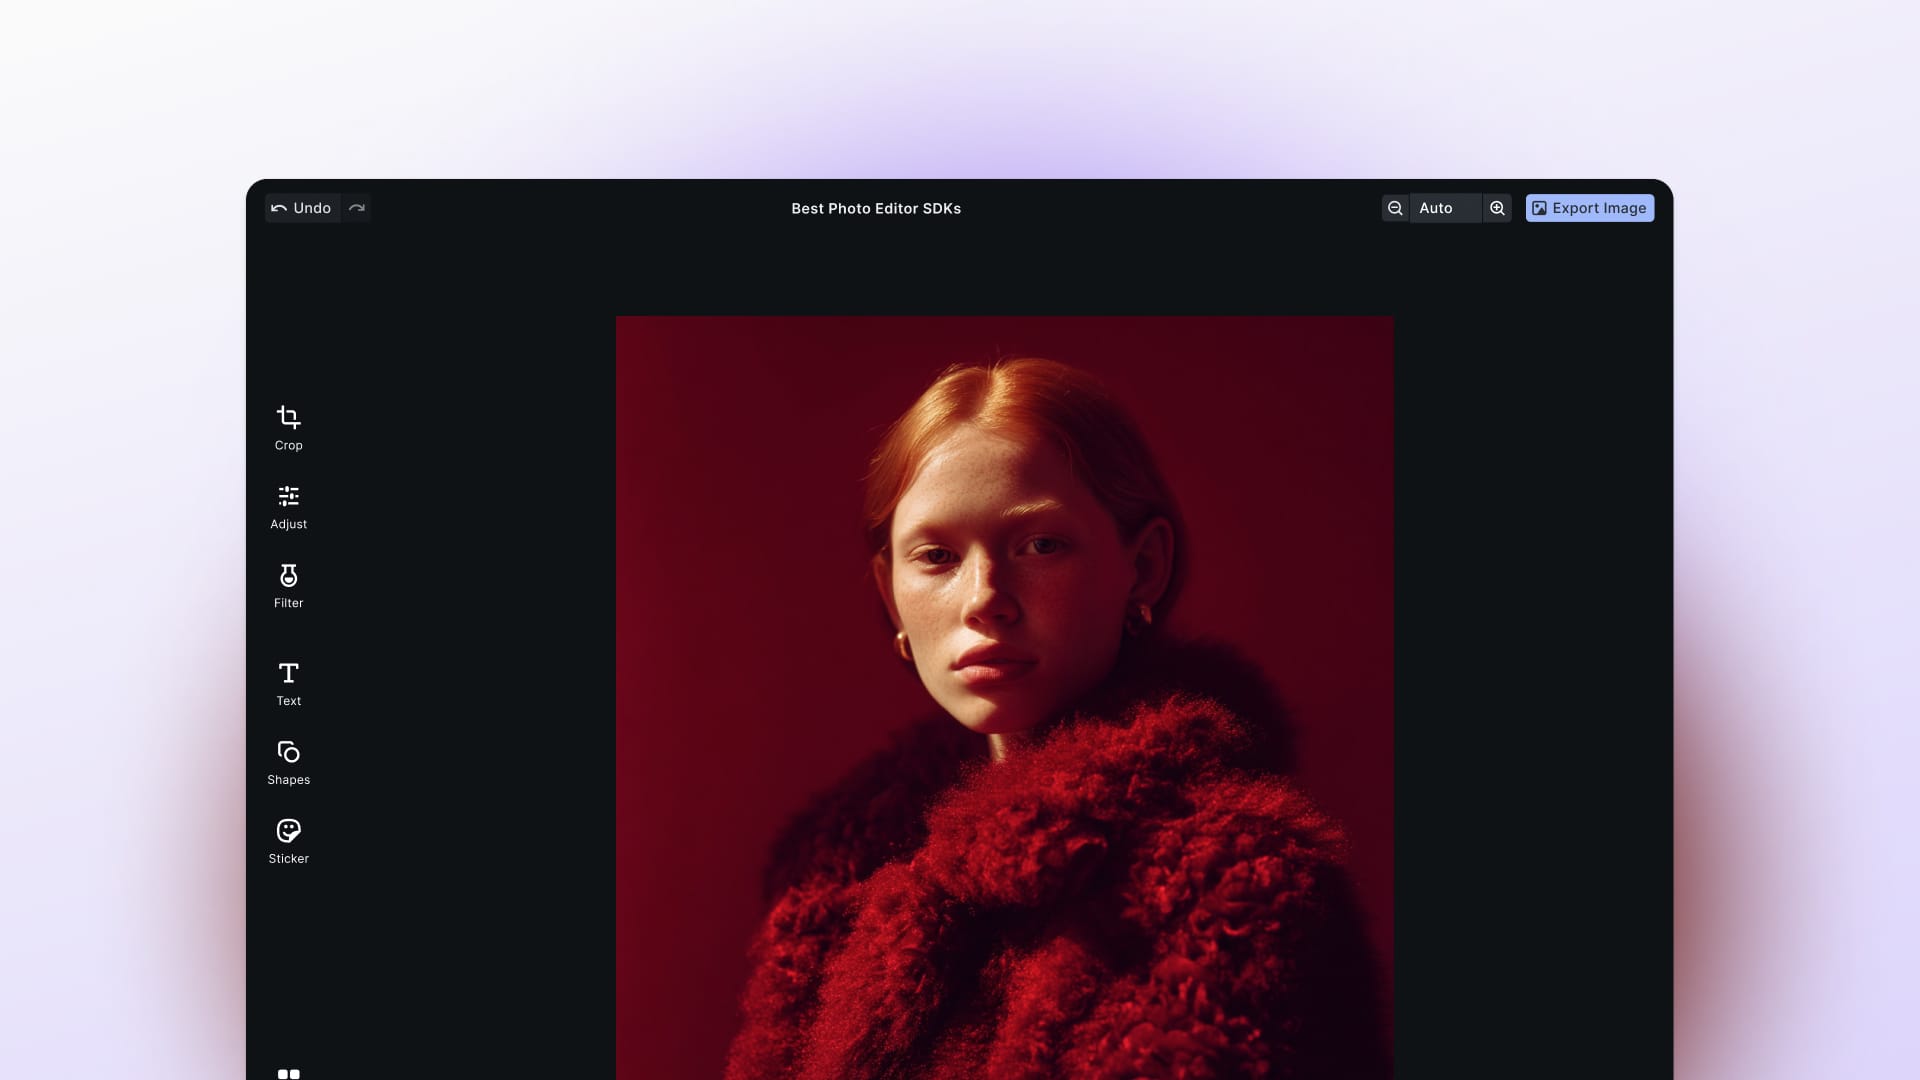
How to integrate a Photo and Video Editor into your React Native App
This tutorial walks you through the integration process of PhotoEditor SDK and VideoEditor SDK into your React Native app for iOS and Android. You’ll learn how to use our React Native modules to facilitate the integration and to customize our editors. For this tutorial we presume that all the necessary development tools for building an iOS and Android app are met, so make sure to complete the official React Native CLI Quickstart guides for iOS and Android beforehand.
Please make sure to acquire the licenses for PhotoEditor SDK and VideoEditor SDK before integrating them.
In this tutorial, we’re going to show how to integrate PhotoEditor SDK and VideoEditor SDK for iOS and Android into your React Native app. Therefore, we created React Native modules for our products to simplify this process for you as much as possible. We’re going to use VideoEditor SDK’s README, which is in most parts identical to the PhotoEditor SDK’s README, and Visual Studio Code. So, let’s get started.
First, we create a React Native project with the name “Demo” based on the default template by using the command npx react-native init Demo. The project will now be initialized and automatically install all dependencies of the current React Native version. Afterwards, we can find the new React Native project ready to use in the folder “Demo”. So, we’ll speed this up a little.
We already prepared another folder with resources and assets that we want to integrate in our app. Here we chose an image, the required licenses for our PhotoEditor SDK and VideoEditor SDK for both target platforms, a video and two logos that we will later use to show how we can customize our editors. We copy these resources into the root of our project to make the resources accessible for our app.
Now, we switch to the folder of the “Demo” project. We can now copy and execute the command yarn add react-native-videoeditorsdk from the README to install the dependencies to the React Native module for our VideoEditor SDK … and to the React Native module for PhotoEditor SDK by issuing the command yarn add react-native-photoeditorsdk.
Now, we’re going to set up the dependencies for our native iOS libraries. We can simply copy the command cd ios && pod install && cd .. from the README and execute it to install all iOS dependencies. They include the native PhotoEditor SDK and VideoEditor SDK libraries that are required by our React Native modules.
And now, we set up the dependencies for our native Android libraries. The required steps that we will now take are described in detail in the README.
android {
  defaultConfig {
    multiDexEnabled true
  }
}

dependencies {
  implementation ‘androidx.multidex:multidex:2.0.1’
}
We copy the lines and add them at the end of our android/app/build.gradle file. Now we need to change the superclass of our MainApplication class to enable Multidex. Next, we add the img.ly repository and the plugin by copying the following lines and add them at the top of our android/build.gradle file located in our Android folder.
buildscript {
  repositories {
    jcenter()
    maven { url "https://plugins.gradle.org/m2/" }
    maven { url "https://artifactory.img.ly/artifactory/imgly" }
  }

  dependencies {
    classpath "org.jetbrains.kotlin:kotlin-gradle-plugin:1.3.61"
    classpath 'ly.img.android.sdk:plugin:7.1.8'
  }
}
Now, we can configure our PhotoEditor SDK and VideoEditor SDK by opening the android/app/build.gradle file and add these lines under apply plugin: “com.android.application".
apply plugin: 'ly.img.android.sdk'
apply plugin: 'kotlin-android'

// Comment out the modules you don't need, to save size.
imglyConfig {
  modules {
    include 'ui:text'
    include 'ui:focus'
    include 'ui:frame'
    include 'ui:brush'
    include 'ui:filter'
    include 'ui:sticker'
    include 'ui:overlay'
    include 'ui:transform'
    include 'ui:adjustment'
    include 'ui:text-design'
    include 'ui:video-trim'

    // This module is big, remove the serializer if you don't need that feature.
    include 'backend:serializer'

    // Remove the asset packs you don't need, these are also big in size.
    include 'assets:font-basic'
    include 'assets:frame-basic'
    include 'assets:filter-basic'
    include 'assets:overlay-basic'
    include 'assets:sticker-shapes'
    include 'assets:sticker-emoticons'
  }
}
Getting back to our iOS version, we can now launch our demo project on iOS, which will currently look like a plain React Native project that we initialized with the first command.
The main difference to an off-the-shelf React Native project is that our React Native modules are installed and ready-to-use in the App.js file once the native projects are compiled. Then, it won’t be necessary to recompile the native projects for the remainder of this tutorial. We sped up the compilation a little and here we go — our React Native app is running on the iOS simulator. Now, we do the same for the Android version and wait until the project is compiled.
Now, the demo project launched on both platforms as we can see on the right on the iOS simulator at the top, and on the Android emulator at the bottom of the screen.
We’ve decided that we want to start our photo editor by pressing a button. So next, we’re going to actually customize our React Native app by adding this button. Therefore, we open the App.js file and import the Button component in order to create a button with the title “Edit a sample image”. For now, we leave the onPress function empty.
We save the App.js file to trigger a refresh of the running apps and immediately see the result on the right. The new button appears in both, the iOS and the Android app.
Now we create a second button with the title “Edit a sample video”. This will respectively start our video editor. And again, we save the App.js file and see the second button appear on the right side.
Next, we are going to add the code that actually opens our editors when we press the buttons. Visual Studio Code automatically imported the respective React Native PhotoEditor SDK module for us at the very top of the file, while writing the code that makes use of our SDK. We do the same for the VideoEditor SDK. We use the require function to make static assets available to our app. Here, we “require” our sample image and our sample video that we copied to the app’s folder in the beginning and pass them as the first argument to our openEditor functions. The first argument can also be a regular URI.
We save the App.js file again and now we can click the buttons to start our photo editor or video editor. There we go! We still see a watermark here. The reason for this watermark is that we haven’t unlocked our SDKs so far which we will do next.
We unlock both products with our licenses to get rid of the watermark. If not unlocked, the watermark will be on both the image and video previews as well as on the exported images and videos. To unlock the products, we use the unlockWithLicense function of each SDK. In total, we need four license files, one license file for each product and platform combination. The license files should be named pesdk_license and vesdk_license with platform-specific extensions .ios.json and .android.json. React Native will then automatically pick the right file for the corresponding platform. After this, the watermarks will be removed for PhotoEditor SDK and VideoEditor SDK on both platforms. And now you can also see it in the simulator — no watermarks anymore.
In the next step, we’re going to change the configuration of the editors. If no changes are made to the configuration, our default stickers are available with the editor. To customize them, we need to import the Configuration from either the PhotoEditor SDK or VideoEditor SDK. The configurations are compatible between both products. So, for this tutorial, we decided to use the VideoEditor SDK configuration which we are now using by adding Configuration to the react-native-videoeditorsdk imports. We decided that we want to add custom stickers to our editors. Therefore we define a non-default configuration to the sticker tool.
const configuration: Configuration = {
  sticker: {}
}
To customize the sticker assets, we need to define the sticker “categories” array. Here, we define a new category and name the identifier demo_sticker_category. These asset identifiers must always be unique. Next, we set a name for the category and we name it “Logos”.
Each category also requires a thumbnail image to be displayed in the editor. For the thumbnail, we use the React logo that we added to the folder of our app at the very beginning. Next, we define the items for this new sticker category. These items are the actual stickers that we can apply to the edited image or video. We now create a new sticker for the React logo. Therefore, we call the identifier demo_sticker_react and name it “React”. These sticker names won’t appear in the UI, but they are used for accessibility. Now, we need to define the actual image that should be used for that sticker. Here we use the React image again.
To create a second sticker, we can now copy and paste the code of the first sticker. We create a sticker with our img.ly logo and rename the identifier of the pasted code to demo_sticker_imgly. Accordingly, we set the name to “img.ly” and change the file to imgly.png.
In addition, we want to specify a non-default tint mode for our second sticker by using tintMode: TintMode.SOLID which enables us to change the color of the sticker. The TintMode type is automatically added to the VideoEditor SDK imports for us by Visual Studio Code. Now, that we completed our configuration, we need to pass it as the second argument to the openEditor functions in order to take effect.
We save the App.js file again to refresh the running apps and we can see the result live after starting a new editing session. Please note that you cannot alter the configuration of a running editor instance. You always need to start a new editing session to see configuration changes.
We want to use another feature of our SDKs which is called serialization. With the serialization feature, we can capture all image and video editing operations that are applied in the editor and export them. This allows us to import the editing operations in later sessions and continue editing. The serializations are compatible between both products as well. The input serialization is the third parameter of the openEditor functions of our SDKs and the output serialization is optionally part of their result type.
First, we check if the result is “null”. This is the case when a user clicks the "Discard" button in the editor and thus does not export an image or video. If the result is not ”null”, we know that the user exported an image or video. Then we can assign the exported serialization to the previously defined global serialization variable which will then be input to the next editing session. We copy the code and add it to the video editor as well to enable the serialization function here too.
Now, one thing is left to enable the actual serialization export in the configuration. The serialization export is disabled per default because not every user needs the serialization feature. Here, we enable it now and also change the export type to object. By doing so, the result type of the editor will contain the serialization as an object. Per default, the serialization is exported to a file and that file name is returned as part of the export result. Writing the serialization to a file is a reasonable default as serializations can be quite large, especially if large amounts of binary data for personal stickers are embedded.
Now, we can run the app on the simulator and use all the parameters that we configured in this tutorial. First, we can add our custom stickers, both the React logo and the img.ly logo. Here we can also change the colors which we enabled with the tint mode.
We can also use the text design tool to add a phrase to our image. Here we can pick different designs, so we’re trying a couple and place the text design fitting to the image and logo.
Next, we export our image with the serialization. With the serialization function enabled, it is now possible to import the editing operations into our video editor. This allows us to keep on editing because the serialization is compatible between both products. So here we can add further words to our text design. We can also put filters on our video. For example, we can choose the peach duo tone and increase the contrast a little. And here we go! We successfully integrated PhotoEditor SDK and VideoEditor SDK into our React Native app.
Thanks for reading! To stay in the loop, subscribe to our Newsletter.


