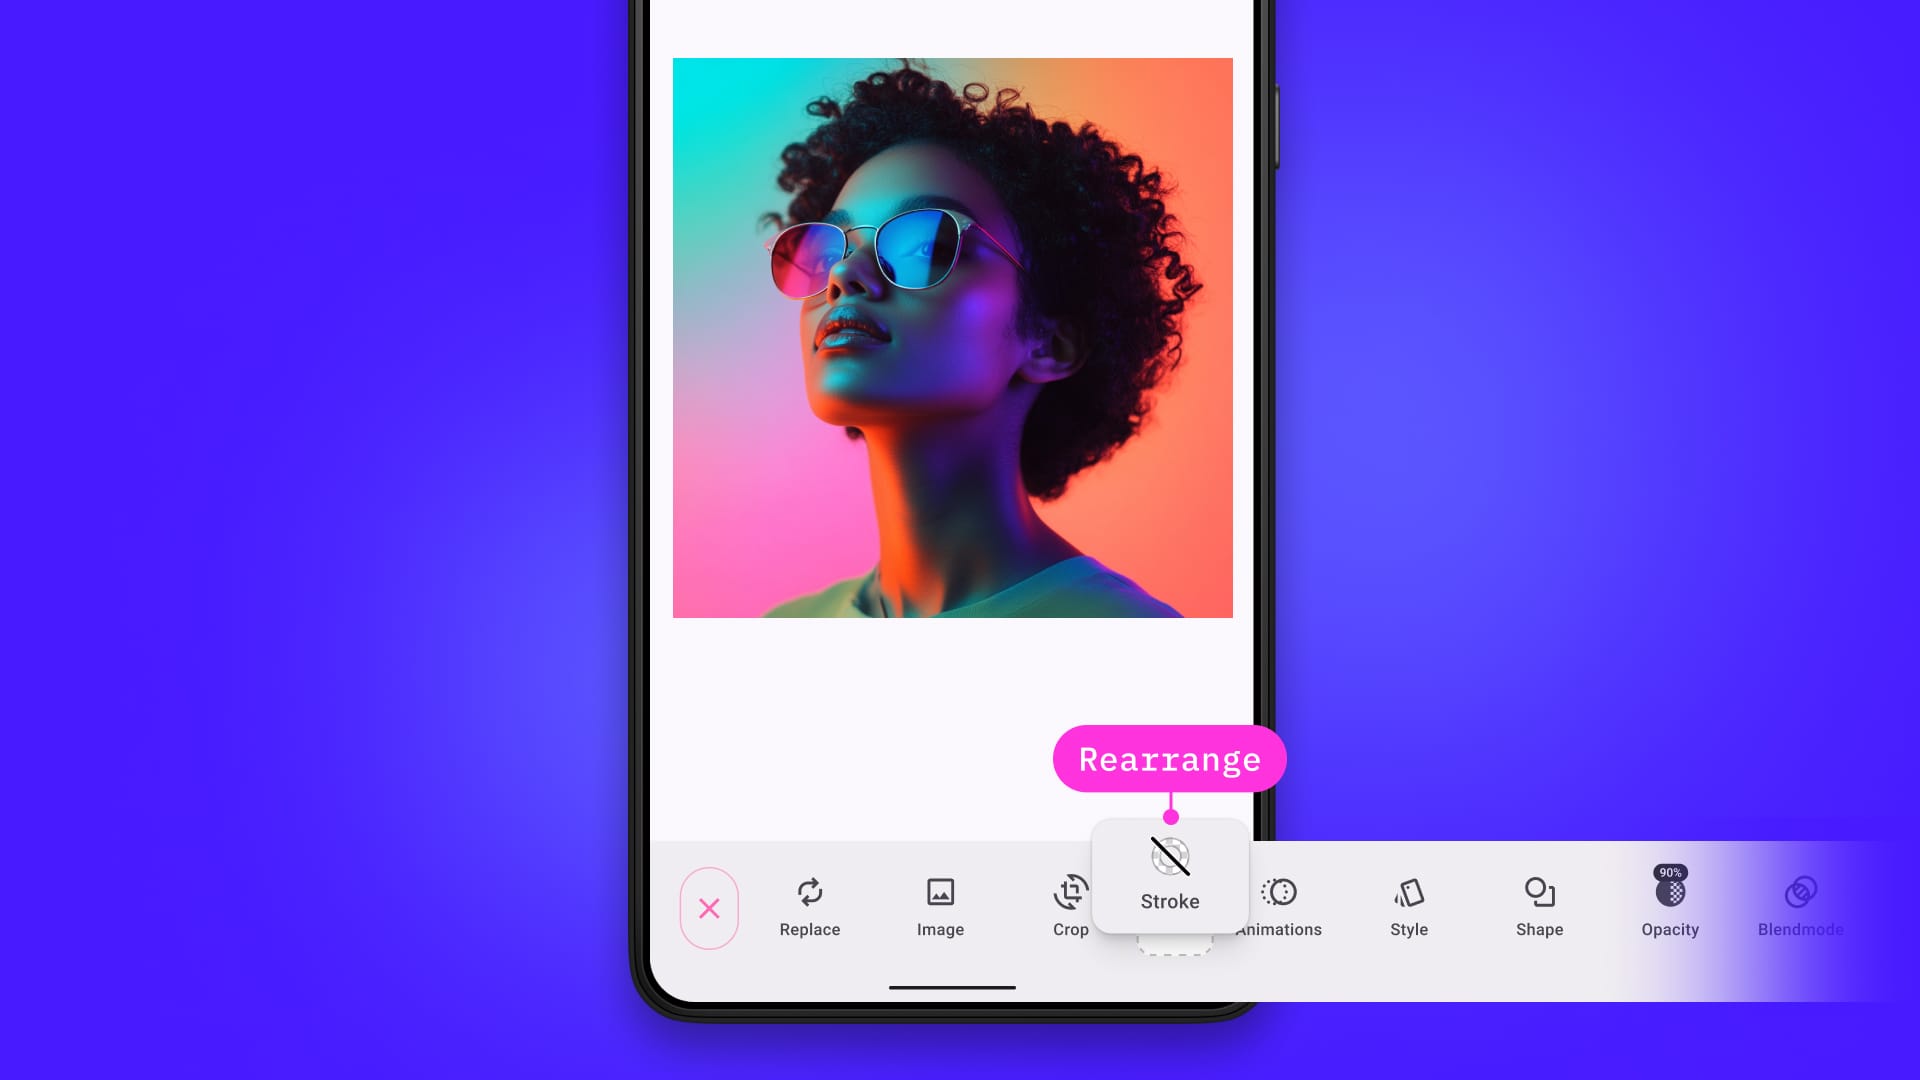
Cropping and trimming videos is a notoriously difficult task to achieve on Android. One way to implement this functionality is by using FFmpeg a free open-source suite of tools that can perform a wide range of tasks, from video converting to editing. Normally FFmpeg is used from the command line, to use it correctly in Android you have to understand its underlying APIs and how to use them.
In this tutorial, you will learn how to crop and trim videos in Android by using FFmpeg. Even if you are a beginner you should be able to follow the steps to achieve the desired results.
I try to summarise the most important basics that you need to know to manipulate videos with FFmpeg. After reading this article you should be able to use it in your own applications. Furthermore, I have developed a sample application and library that can be used to trim and crop videos with an Android device.
What is FFmpeg
FFmpeg is a great multimedia framework that is able to mux, demux, decode, encode, transcode, filter, stream, and play most media content that exists. FFmpeg supports different tools that can be used to develop an application to manipulate any kind of media to the desired output. You do not have any limitations on what to do with multimedia when using FFmpeg.
Unfortunately, to use FFmpeg in an Android App using Kotlin you have to compile and build the libraries to use them as a dependency in your project. This process is not straightforward because you have to manually compile a C/C++ library with help of the Android NDK.
Luckily, many people already have done this and we are able to use their compiled library in our project. However, if you want to compile FFmpeg from scratch you can do this. All necessary information should be available within the android developer documentation.
To show you how we can use FFmpeg in our app I will use a compiled FFmpeg library that can be found here. To find other FFmpeg libraries you can have a look at the official FFmpeg wiki where several pre-packaged sources are listed.
Setting up the project
In order to use the FFmpeg library of WritingMinds (or any other library), we have to follow some simple steps.
1. Add dependency for the FFmpeg library to your app-level build.gradle
dependencies {
    implementation fileTree(dir: 'libs', include: ['*.jar'])
    implementation 'com.writingminds:FFmpegAndroid:0.3.2'
}
2. Check if your device supports the current implementation of FFmpeg or not
fun initialize() {
        val ffmpeg = FFmpeg.getInstance(ctx.applicationContext)
        try {
            ffmpeg.loadBinary(object : LoadBinaryResponseHandler() {
                override fun onFinish() {
                    super.onFinish()
                }

                override fun onSuccess() {
                    super.onSuccess()
                }

                override fun onFailure() {
                    super.onFailure()
                }

                override fun onStart() {
                    super.onStart()
                }
            })
        } catch (e: FFmpegNotSupportedException) {
            Log.e("FFmpeg", "Your device does not support FFmpeg")
        }
    }
3. Initialize the FFmpeg module (leave command blank)
val ffmpeg = FFmpeg.getInstance(ctx)
       ffmpeg.loadBinary(object : FFmpegLoadBinaryResponseHandler {
            override fun onFinish() {
                Log.d("FFmpeg", "onFinish")
            }

            override fun onSuccess() {
                Log.d("FFmpeg", "onSuccess")
                val command = //TODO: the command will added here later
                try {
                    ffmpeg.execute(command, object : ExecuteBinaryResponseHandler() {
                        override fun onSuccess(message: String?) {
                            super.onSuccess(message)
                            Log.d(TAG, "onSuccess: " + message!!)
                        }

                        override fun onProgress(message: String?) {
                            super.onProgress(message)
                            Log.d(TAG, "onProgress: " + message!!)
                        }

                        override fun onFailure(message: String?) {
                            super.onFailure(message)
                            Log.e(TAG, "onFailure: " + message!!)
                        }

                        override fun onStart() {
                            super.onStart()
                            Log.d(TAG, "onStart")
                        }

                        override fun onFinish() {
                            super.onFinish()
                            Log.d(TAG, "onFinish")
                        }
                    })
                } catch (e: FFmpegCommandAlreadyRunningException) {
                            Log.e("FFmpeg", "FFmpeg runs already")
                }
            }

            override fun onFailure() {
                Log.e("FFmpeg", "onFailure")
            }

            override fun onStart() {
            }
        })
4. Implement the commands you want to use in your app
All commands that are supported by FFmpeg can be included in your app with help of an array. This is done by passing every command line argument as a single element within the array. The array will then be translated into an FFmpeg command using the execute method from FFmpeg:
ffmpeg.execute(command, object : ExecuteBinaryResponseHandler() { ... }
As we want to implement Trim and Crop I will show how this can be done using the arrayOf function.
Trim:
val command = arrayOf("-y", "-i", input, "-ss", startPos, "-to", endPos, "-c", "copy", output)
- "-y": overwrites output files without asking
- "-i": specifies an input file
- input: the path of the source video to trim
- "-ss": specifies that the next value will be the starting point of the resulting video
- startPos: the starting position in "%d:%02d:%02d" format
- "-to": specifies that the next value will be the end position of the resulting video
- endPos: the end position in "%d:%02d:%02d" format
- "-c" AND "copy": defines that the stream will not be encoded. The resulting video will only be saved.
- output: the path of the resulting video
To better understand every argument you can have a look at the official FFmpeg documentation.
Additionally, to provide arguments for startPos and endPos you normally would have to use a utility function that converts the timestamp of the start and end position into the desired "%d:%02d:%02d" format (a string):
fun convertTimestampToString(timeInMs: Float): String {
        val totalSeconds = (timeInMs / 1000).toInt()
        val seconds = totalSeconds % 60
        val minutes = totalSeconds / 60 % 60
        val hours = totalSeconds / 3600
        val formatter = Formatter()
        return if (hours > 0) {
            formatter.format("%d:%02d:%02d", hours, minutes, seconds).toString()
        } else {
            formatter.format("%02d:%02d", minutes, seconds).toString()
        }
    }
Crop:
val command = arrayOf("-i", input, "-filter:v", "crop=$w:$h:$x:$y", "-threads", "5", "-preset", "ultrafast", "-strict", "-2", "-c:a", "copy", output)
- "-i": specifies an input file
- input: the path of the source video to trim
- "-filter:v": defines that a filtergraph is used
- "crop=$w:$h:$x:$y": use crop functionality to crop a part from the video start at point x:y and having a width(w) and height(h).
- "-threads": specifies that the next value will set the thread count
- "5": the number of threads to use
- "-preset": specifies that the next value will set the encoding preset
- "ultrafast": the encoding preset to use
- "-strict": specifies how strictly the standards should be followed
- "-2": the strict value
- "-c:a" AND "copy" defines that the stream will not be encoded and ALL audio streams will also be used.
- output: the path of the resulting video
Also, check the official FFmpeg documentation to better understand every argument.
5. Implement the UI
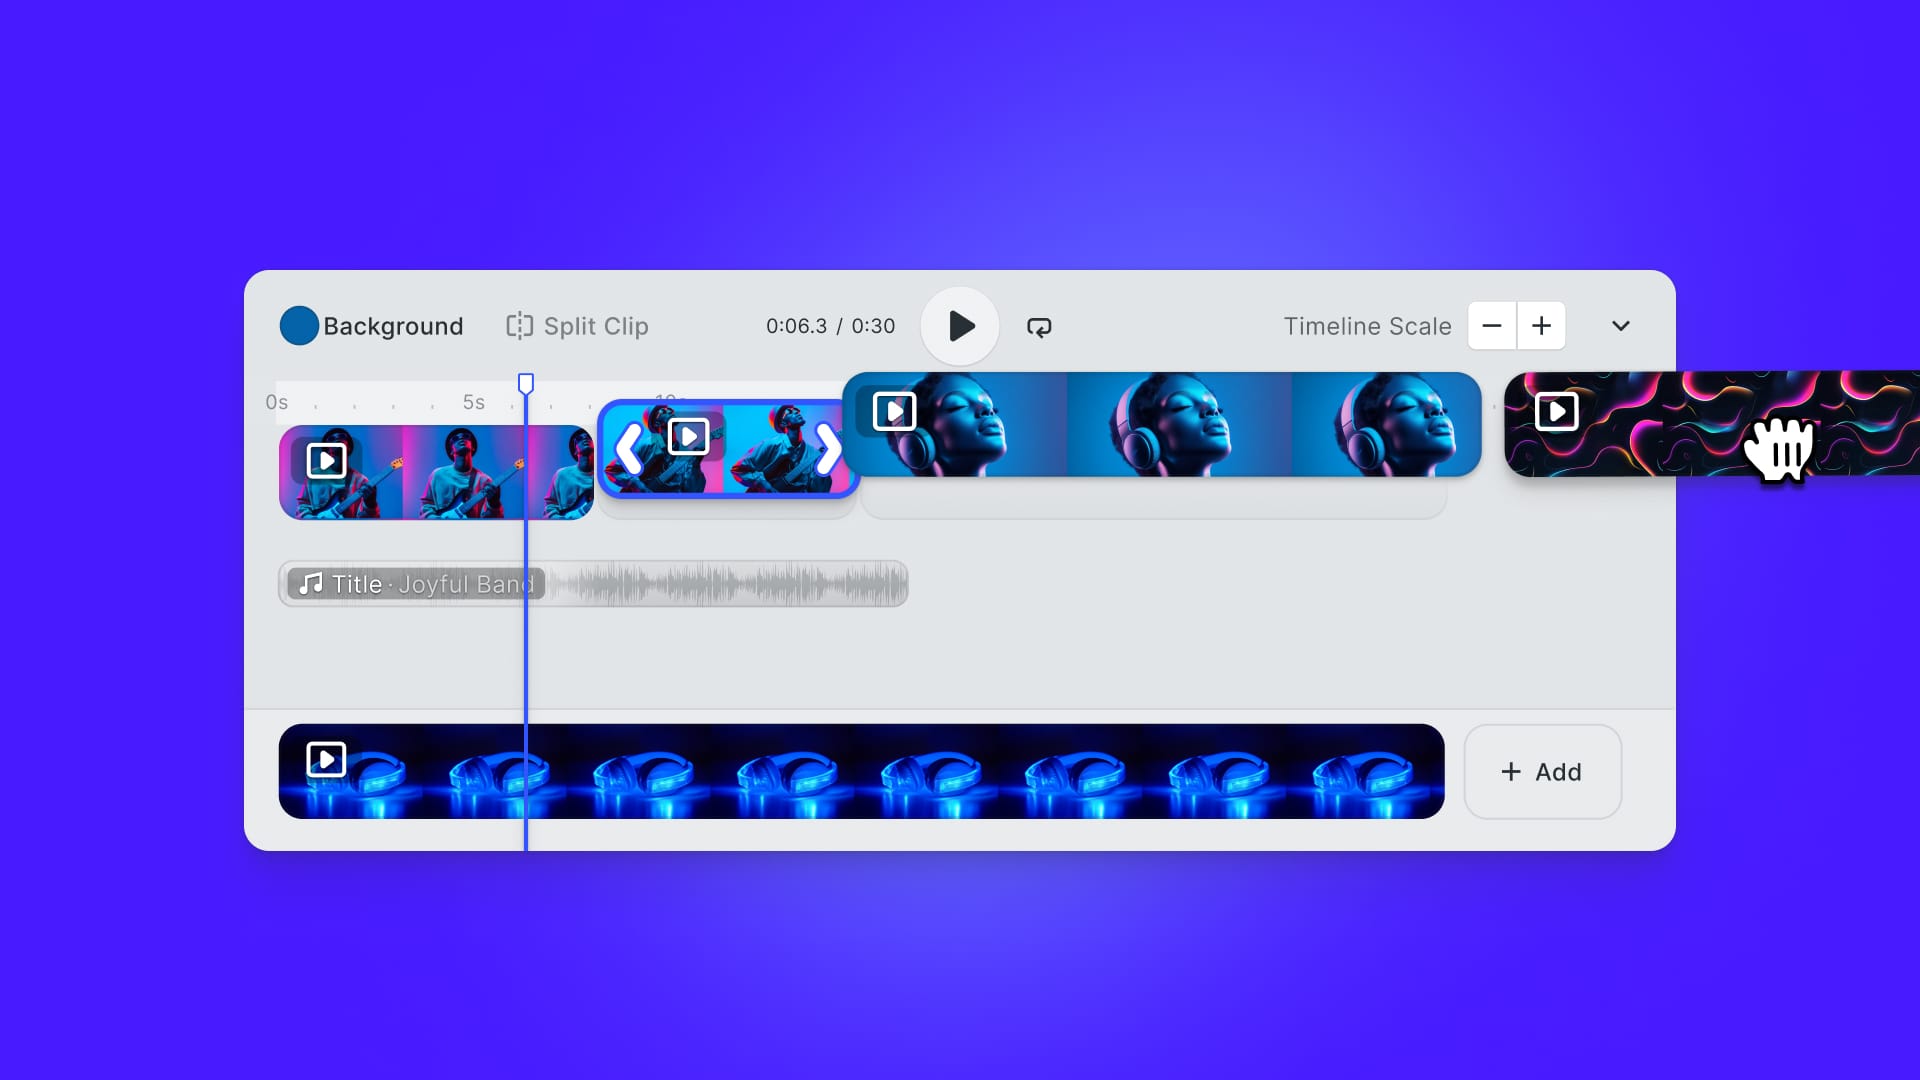
To create a fancy UI you should create a custom view that shows some of the frames available in the video (VideoPreviewView). Also, it should contain a SeekBar for cropping and a RangeSeekBar for trimming. The SeekBar will be used to switch to a certain timestamp within the video to see what is actually trimmed or cropped. The RangeSeekBar will only be used within the trimming UI to define the start and end position of the resulting video.
While SeekBar is an Android Widget the RangeSeekBar is more complicated but there exist several implementations that can be used: By Tiszideepan.
You can implement the VideoPreviewView with an easy approach. Divide the video into a specific number of frames that are based on the view's width and display every frame sequentially within a single view to have a preview. To do this you need the width of the view and the duration of the video that can be found using the MediaMetadataRetriever. With the MediaMetadataRetriever, you can use getFrameAtTime() to fetch a single frame at a specific timestamp. If you now want to display a complete video preview you need to display viewWidth / frameWidth frames. Unfortunately, depending on the video length and video width, it could happen that only a few frames will be present within the VideoPreviewView. To fix this problem you have to maintain a threshold to ensure that a specific number of frames are displayed. This means that you have to crop the frames to a certain width until calculated frames equal the threshold.
The following code snippet will show how you can achieve this:
private fun createPreview(viewWidth: Int) {
        BackgroundExecutor.execute(object : BackgroundExecutor.Task("", 0L, "") {
            override fun execute() {
                try {
                    val threshold = 11
                    val thumbnails = LongSparseArray<Bitmap>()
                    val mediaMetadataRetriever = MediaMetadataRetriever()
                    mediaMetadataRetriever.setDataSource(context, videoUri)
                    val videoLengthInMs = (Integer.parseInt(
                        mediaMetadataRetriever.extractMetadata(MediaMetadataRetriever.METADATA_KEY_DURATION)
                    ) * 1000).toLong()
                    val frameHeight = viewHeight
                    val initialBitmap = mediaMetadataRetriever.getFrameAtTime(
                        0,
                        MediaMetadataRetriever.OPTION_CLOSEST_SYNC
                    )
                    val frameWidth =
                        ((initialBitmap.width.toFloat() / initialBitmap.height.toFloat()) * frameHeight.toFloat()).toInt()
                    var numThumbs = ceil((viewWidth.toFloat() / frameWidth)).toInt()
                    if (numThumbs < threshold) {
                        numThumbs = threshold
                    }
                    val cropWidth = viewWidth / threshold
                    val interval = videoLengthInMs / numThumbs
                    for (i in 0 until numThumbs) {
                        var bitmap = mediaMetadataRetriever.getFrameAtTime(
                            i * interval,
                            MediaMetadataRetriever.OPTION_CLOSEST_SYNC
                        )
                        bitmap?.let {
                            try {
                                bitmap = Bitmap.createScaledBitmap(
                                    bitmap,
                                    frameWidth,
                                    frameHeight,
                                    false
                                )
                                bitmap = Bitmap.createBitmap(bitmap, 0, 0, cropWidth, bitmap.height)
                            } catch (e: Exception) {
                                Log.e(TAG, "error while create bitmap: $e")
                            }
                            thumbnails.put(i.toLong(), bitmap)
                        }
                    }
                    mediaMetadataRetriever.release()
                    returnBitmaps(thumbnails)
                } catch (e: Throwable) {
                    Thread.getDefaultUncaughtExceptionHandler()
                        .uncaughtException(Thread.currentThread(), e)
                }
            }
        })
    }
Additionally, for cropping a video you need to display a crop rectangle within the UI to let users decide which part of the video they want to crop. Also, you have to give users the ability to reposition the crop area. To do this, you can use the ImageCropper library from ArthurHub which is initially designed to crop an image but can also be used for videos as you only need the values from the rectangle. Add the ImageCropper to your project:
dependencies {
    implementation 'com.theartofdev.edmodo:android-image-cropper:2.8.0'
}
Now, you can extend a CropperActivity which loads the current frame of the video (that you can extract with the VideoPreviewView) by inserting the CropImageView layout to get the cropping bounds. Once, you select an area in the UI, the rectangle values can be extracted and used to calculate the needed values for video cropping with this function:
val rect = cropFrame.cropRect
val w = abs(rect.left - rect.right)
val h = abs(rect.top - rect.bottom)
val x = rect.left
val y = rect.top
These values will then be used as input variables for the FFmpeg crop command.
To help you use all this information I created a project that uses all explained snippets to create a sample app that can crop and trim videos. The source code can be found on my personal GitHub.
Fixing error=13, Permission denied
Unfortunately, if you implement the described functionality and use the compiled FFmpeg library you will run into this problem if you compile your app for SDK 29 and onwards.

Permission denied error due to wrong target SDK The problem is caused because from Android Q onwards it is not allowed to execute binaries in your app's private data directory. The error is described in the official issue tracker from google.
One solution will be that you compile your app for SDK 28 but this could lead to problems if you try to put your app into the Android Play Store.
Another solution will be that you compile your app for SDK 29 and stop putting binaries in any not supported directory. Unfortunately, the code that moves the binaries is within the 3rd party lib from WritingMinds and has to be removed by you (with a Pull Request) or by the maintainer of the library. A future-proof solution will be that you stop using external binaries and start compiling dependencies as an NDK project. This will be a lot of work but you can find help within a famous repository that compiles CPP to Java and also has FFmpeg
Add more commands
After you implemented crop and trim you maybe want to add more cool features to your Android app. To do this with FFmpeg and the previously described code you can do this by simply creating a new function within the VideoCommands() and translate the FFmpeg command into a VideoCommands() function.
The next sections will describe some fancy functions that would improve the usability of your app. Just add a new function with this command and fill the callbacks with a toast or anything else. Then call the function from anywhere within your app (because you do not need UI for this).
Removing audio from videos
You might run into a scenario where you’d only like to keep the visuals of a video and remove the audio track, for instance for voicing over certain footage or removing background noise:
val command = arrayOf("-i", input, "-an", output)
Compress a video
Make big videos smaller to save your valuable disk resources.
val command = arrayOf("-i", input, "-vf", "scale=$w:$h", "-c:v", "libx264", "-preset", "veryslow", "-crf", "24", output)
$w and $h are the new sizes (should be smaller). If one is -1 it will keep the ratio and is automatically adjusted in relation to the other one.
Change playback speed
Increase the playback speed to make long videos faster or decrease it for showing something really awesome very slowly.
val command = arrayOf("-i", input, "-vf", "\"setpts=$scale*PTS\"", output)
$scale should be > 1 for slowing down a video or < 1 for fastening a video.
More
To find more cool commands search the official argument documentation and implement them by putting every argument into a value of the array function as described earlier.
For production-grade application you may be better served by using our VideoEditorSDK which in addition to professional trim and crop features allows your users to add filters, text and audio overlays. Recently, we released time-based sprites as well allowing users to time the appearance of text and stickers in videos.
Closing Notes
In this article, you learned that you can use FFmpeg to crop and trim videos on Android. Unfortunately, it does not work out of the box and you have to compile the library using complex techniques. Luckily, there exist some useful libraries that do the heavy lifting for you.
Using my app as a baseline you are able to crop and trim videos. Additionally, you can implement more commands easily if they do not need a GUI because creating a fancy-looking GUI was a complicated part of developing a cropping and trimming app.
Unfortunately, there are problems with the library that was used because Android Q introduces a security fix that forbids apps to execute binaries within their data folder. But, this is only a problem if you want to create a "Google Play Store" ready app because you can avoid this problem if compile your app for SDK 28 (and lower). Keep in mind that if you want to create a private app that you distribute on your website instead of using the Play Store you can do this. But, if you want to upload your app to the Google Play Store you have to search for another FFmpeg library within the documentation or build one from scratch so you can compile your app for the current needed SDK.
Looking to integrate video capabilities into your app? Check out our Video Editor SDK, Short Video Creation, and Camera SDK!
I hope you enjoyed reading this article and are able to create an Android app that can crop and trim videos. If you have any questions, need help, or want to give feedback @ us on Twitter. We are happy to help.


