When working with interactive content, it may happen that you will need to add remote or local assets on top of your video file. The assets varying from images and stickers to videos and fonts are usually grouped and deployed within your application and are available at runtime. This tutorial will teach you how to apply stickers and overlays to a video in Flutter and make your video content more personalizable and user-oriented. We start by considering the prerequisites for successful video integration, then talk about how Flutter manages overlays in order to personalize our video file.
How does Flutter handle video assets?
Unlike images, Flutter displays a video file by employing a special video_player plugin that provides playback, stores a file, and manages speed and sound control. For iOS-based applications, the video is integrated via AVPlayer, whereas the Android system employs ExoPlayer. Crucially, to create a simple video player, one should follow the steps below:
- First, to ensure that pubspec.yaml file contains the
video_playerdependency; - Then permit access to videos for the application;
- Make a
VideoPlayerControllerand set it up; - Finally, don’t forget to display and play the video player;
So, let’s closely look at the setup process.
Prerequisites:
We start by adding the following dependencies of video_player plugin to pubspec.yaml file.
dependencies:
  flutter:
    sdk: flutter
  video_player: ^2.4.7
Afterwards, change configurations of both android and ios systems to guarantee that an application has the proper authorization for video streaming: e.g. for Android-oriented programs, proceed to the <project root>/android/app/src/main/AndroidManifest.xml directory – where it’s necessary to add the next line to the AndroidManifest.xml.
<manifest xmlns:android="<http://schemas.android.com/apk/res/android>">
    <application ...>

    </application>

    <uses-permission android:name="android.permission.INTERNET"/>
</manifest>
For iOS-based apps the Info.plist file is stored at <project root>/ios/Runner/Info.plist. Once again, don’t forget to add the following specification to the original code:
<key>NSAppTransportSecurity</key>
<dict>
  <key>NSAllowsArbitraryLoads</key>
  <true/>
</dict>
Successful video integration in Flutter is managed through the VideoPlayer widget and a VideoPlayerController, which sets the connection to the asset and initialize the controller for playback.
/// Stateful widget to fetch and then display video content.
class VideoApp extends StatefulWidget {
  const VideoApp({Key? key}) : super(key: key);

  @override
  _VideoAppState createState() => _VideoAppState();
}

class _VideoAppState extends State<VideoApp> {
  late VideoPlayerController _controller;

  @override
  void initState() {
    super.initState();
    _controller = VideoPlayerController.asset('assets/bee.mp4')

      /// Specify the path to your video asset here
      ..initialize().then((_) {
        /// Ensure the first frame is shown after the video is initialized,
        /// even before the play button has been pressed.
        setState(() {});
      });
  }

  @override
  void dispose() {
    super.dispose();
    _controller.dispose();
  }
}
Note that video tends to take up as much space on the screen as possible by default, which can significantly deteriorate the video's quality. Therefore, the Flutter team suggests employing the AspectRatiowidget to adjust the video proportions.
? AspectRatio(
    aspectRatio: _controller.value.aspectRatio)
Adding Overlay Stickers and Text to a Video in Flutter
To see the complete code of our demo application, you can clone the GitHub repository or put the following command to your Terminal:
git clone git@github.com:nataliakzm/Adding_Stickers_and_Overlays_to_video_in_Flutter.git
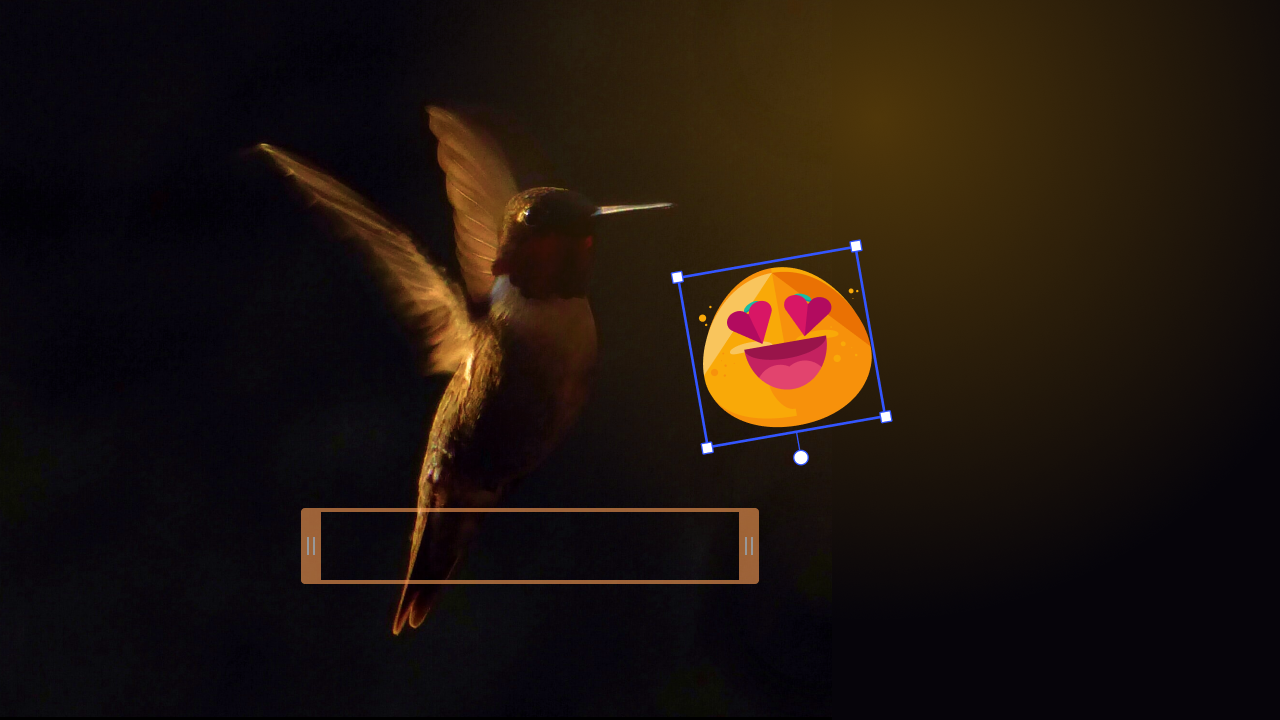
Similarly to how we handled resizing images in Flutter, the same method is used when overlaying an object on a video. The above example consists basically of three containers, one with a sticker, another with the textual watermark and the last with a local video asset. However, the critical difference here is that a Container filled with a sticker and a Container filled with a textual watermark cannot be simply listed one by one in your code but rather must be both placed within a Stack widget.
The Stack container is designed as a “mother”-widget which retains multiple layers of widgets on the screen. Stack structures these branches of children into a hierarchical system from bottom to top. Thus, the uppermost widget goes to the background, and the bottommost item is displayed in the foreground.
Stack(
  children: <Widget>[
    BottomWidget(),
    MiddleWidget(),
    TopWidget(),
  ]),
Since the size of the Stack widget is aimed to be the largest size among layers, we will place our video asset on this layer. Then, to implement the overlays, it’s essential to position and/or align each child's container.
child: Stack(children: [
  VideoPlayer(_controller),

  /// Don't forget to align the position of the Сontainer
  Positioned( bottom: 5, left: 10,
      child: Container( width: 80, height: 40,

        /// In case you want to check the position/size of the Container uncomment the next line
        //color: Color(0xff0360da),
        child: Align(
            alignment: Alignment.center,

            /// Integrate Sticker overlay into a video
            child: Image.asset('assets/sticker.png')))),

  Positioned( top: 5, right: 10,
      child: Container( width: 80, height: 40,
        child: Align(
            alignment: Alignment.center,

            /// Integrate Text overlay into a video
            child: Text("IMG.LY",
                style: TextStyle(
                    color: Colors.white,
                    fontSize: 20,
                    fontWeight: FontWeight.bold))))),
                        ]))

  /// If there is no video, a blank page will be return   : Container()),
Summing up
Thus, you can see from the code below that integrating multiple layers over interactive assets can be a tricky task which requires bearing in mind the position and order of each layer, as well as managing how the children are aligned to a video file and the screen size of the user. Conversely, the discussed method allows personalizing an application without significant modifications to the original file.
import 'package:flutter/cupertino.dart';
import 'package:flutter/material.dart';

/// Import video_player package to integrate a video asset
import 'package:video_player/video_player.dart';

void main() => runApp(const VideoApp());

/// Stateful widget to fetch and then display video content.
class VideoApp extends StatefulWidget {
  const VideoApp({Key? key}) : super(key: key);

  @override
  _VideoAppState createState() => _VideoAppState();
}

class _VideoAppState extends State<VideoApp> {
  late VideoPlayerController _controller;

  @override
  void initState() {
    super.initState();
    _controller = VideoPlayerController.asset('assets/bee.mp4')

      /// Specify the path to your video asset here
      ..initialize().then((_) {
        /// Ensure the first frame is shown after the video is initialized,
        /// even before the play button has been pressed.
        setState(() {});
      });
  }

  @override
  Widget build(BuildContext context) {
    return MaterialApp(
        debugShowCheckedModeBanner: false,
        home: Scaffold(
            appBar: AppBar(
                title: Text('How to add Stickers and Overlays'),
                backgroundColor: Color(0xff0360da)),
            body: Center(
                child: _controller.value.isInitialized

                    /// First, we specify the AspectRatio of a video frame
                    ? AspectRatio(
                        aspectRatio: _controller.value.aspectRatio,

                        /// Then, we initialize a Stack widget
                        child: Stack(children: [
                          VideoPlayer(_controller),

                          /// Don't forget to align the position of the Сontainer
                          Positioned( bottom: 5, left: 10,
                              child: Container( width: 80, height: 40,

                                  /// Uncomment the following line to check the position/size of the Container
                                  //color: Color(0xff0360da),
                                  child: Align(
                                      alignment: Alignment.center,

                                      /// Integrate Image overlay into a video
                                      child: Image.asset('assets/sticker.png')))),

                          Positioned( top: 5, right: 10,
                              child: Container( width: 80, height: 40,
                                  child: Align(
                                      alignment: Alignment.center,

																			/// Integrate some Text overlay into a video
                                      child: Text("IMG.LY",
                                          style: TextStyle(
                                              color: Colors.white,
                                              fontSize: 20,
                                              fontWeight: FontWeight.bold))))),
                        ]))

                    /// If there is no video, a blank page will be return
                    : Container()),
            floatingActionButton: FloatingActionButton.extended(
                backgroundColor: const Color(0xff0360da),
                foregroundColor: Colors.white,
                onPressed: () {
                  setState(() {
                    _controller.value.isPlaying
                        ? _controller.pause()
                        : _controller.play();
                  });
                },
                icon: Icon(_controller.value.isPlaying
                    ? Icons.pause
                    : Icons.play_arrow),
                label: Text('Play for IMG.LY'))));
  }

  @override
  void dispose() {
    super.dispose();
    _controller.dispose();
  }
}
Adding Overlays to a Video with Flutter package for VideoEditor SDK
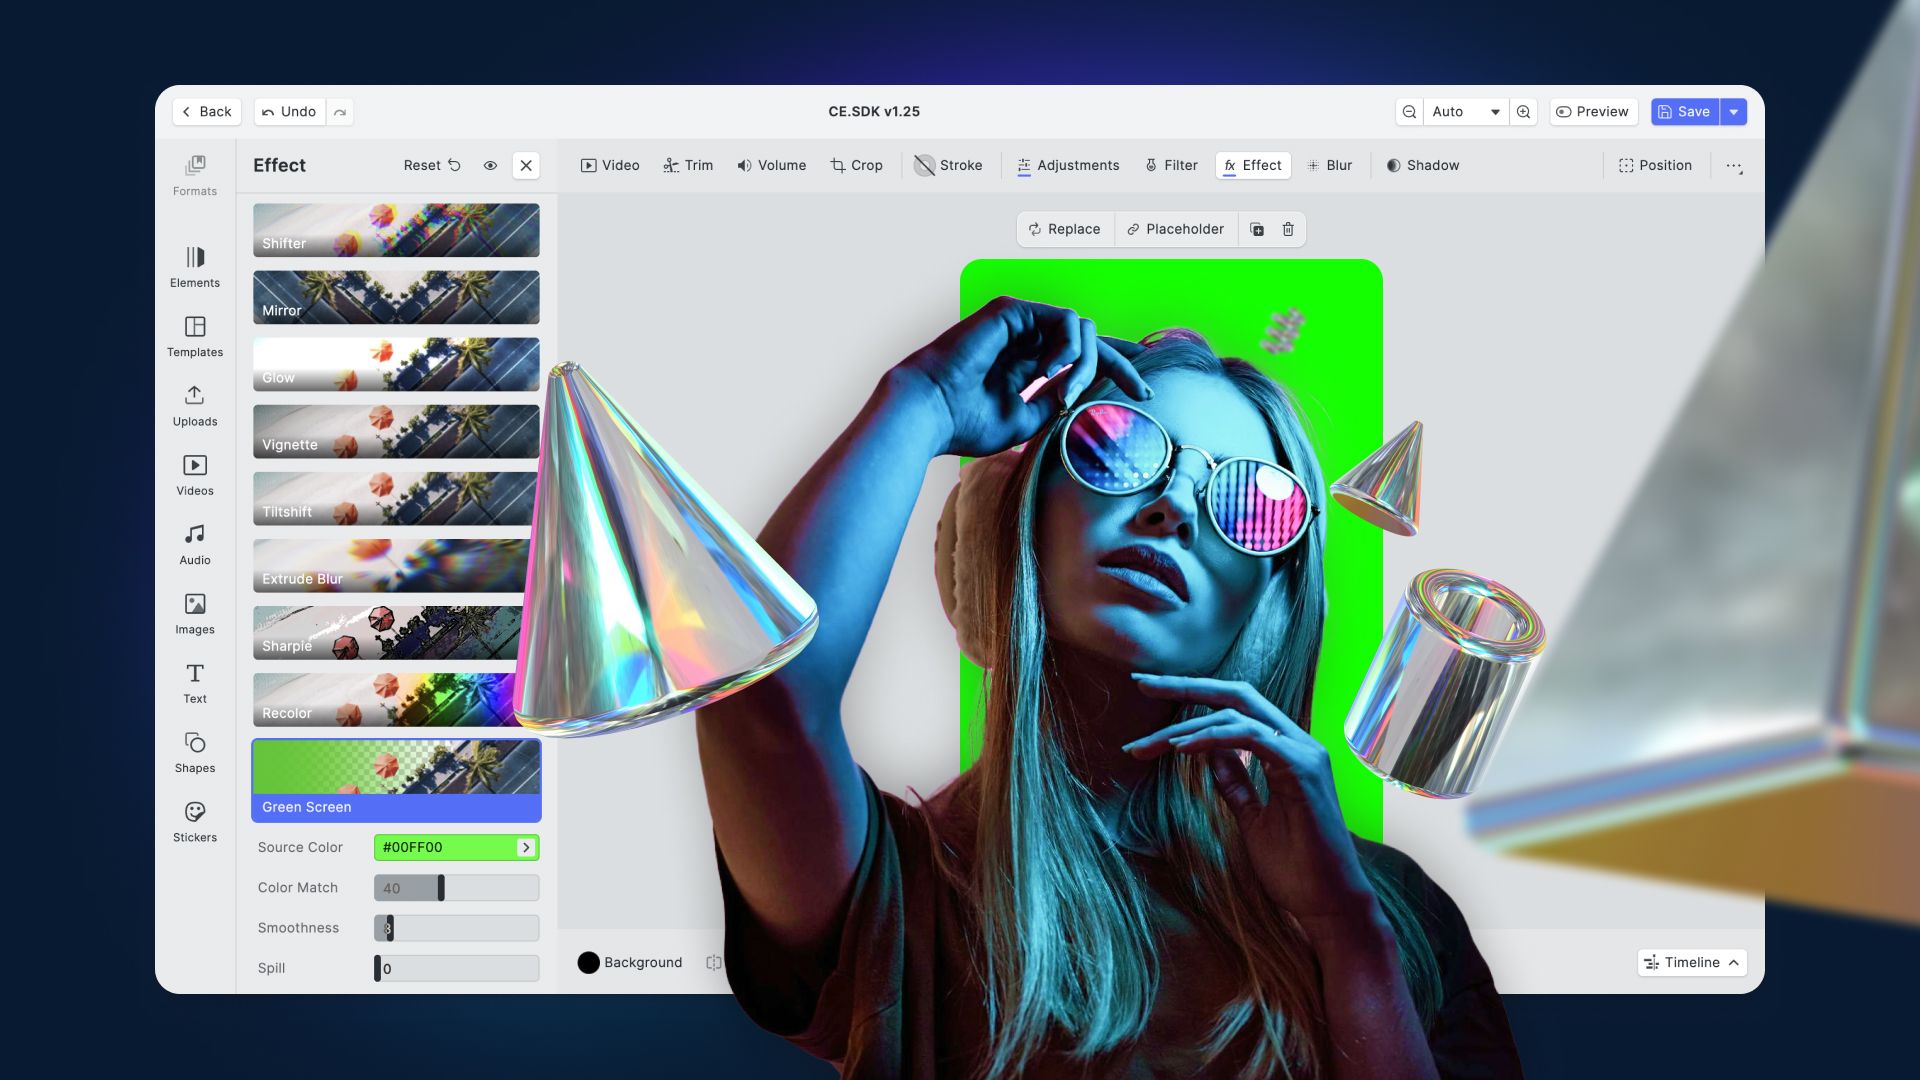
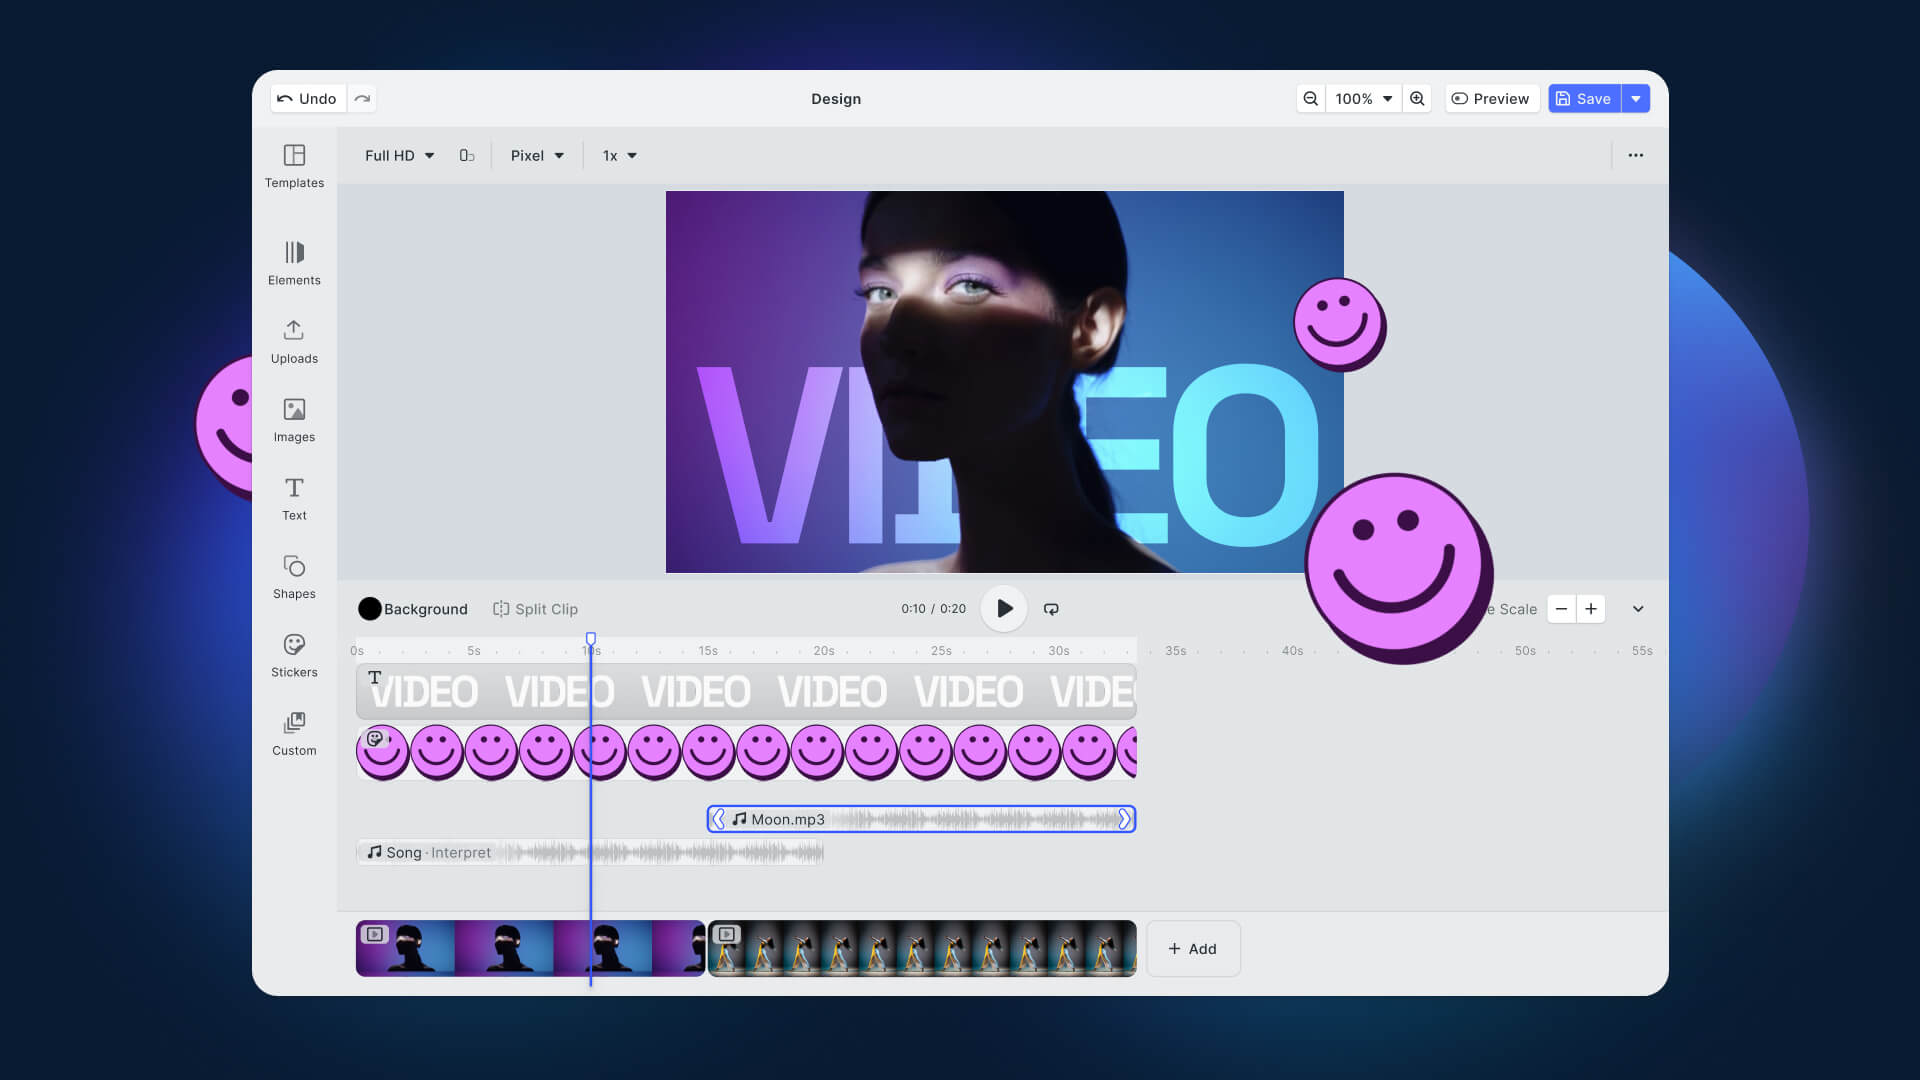
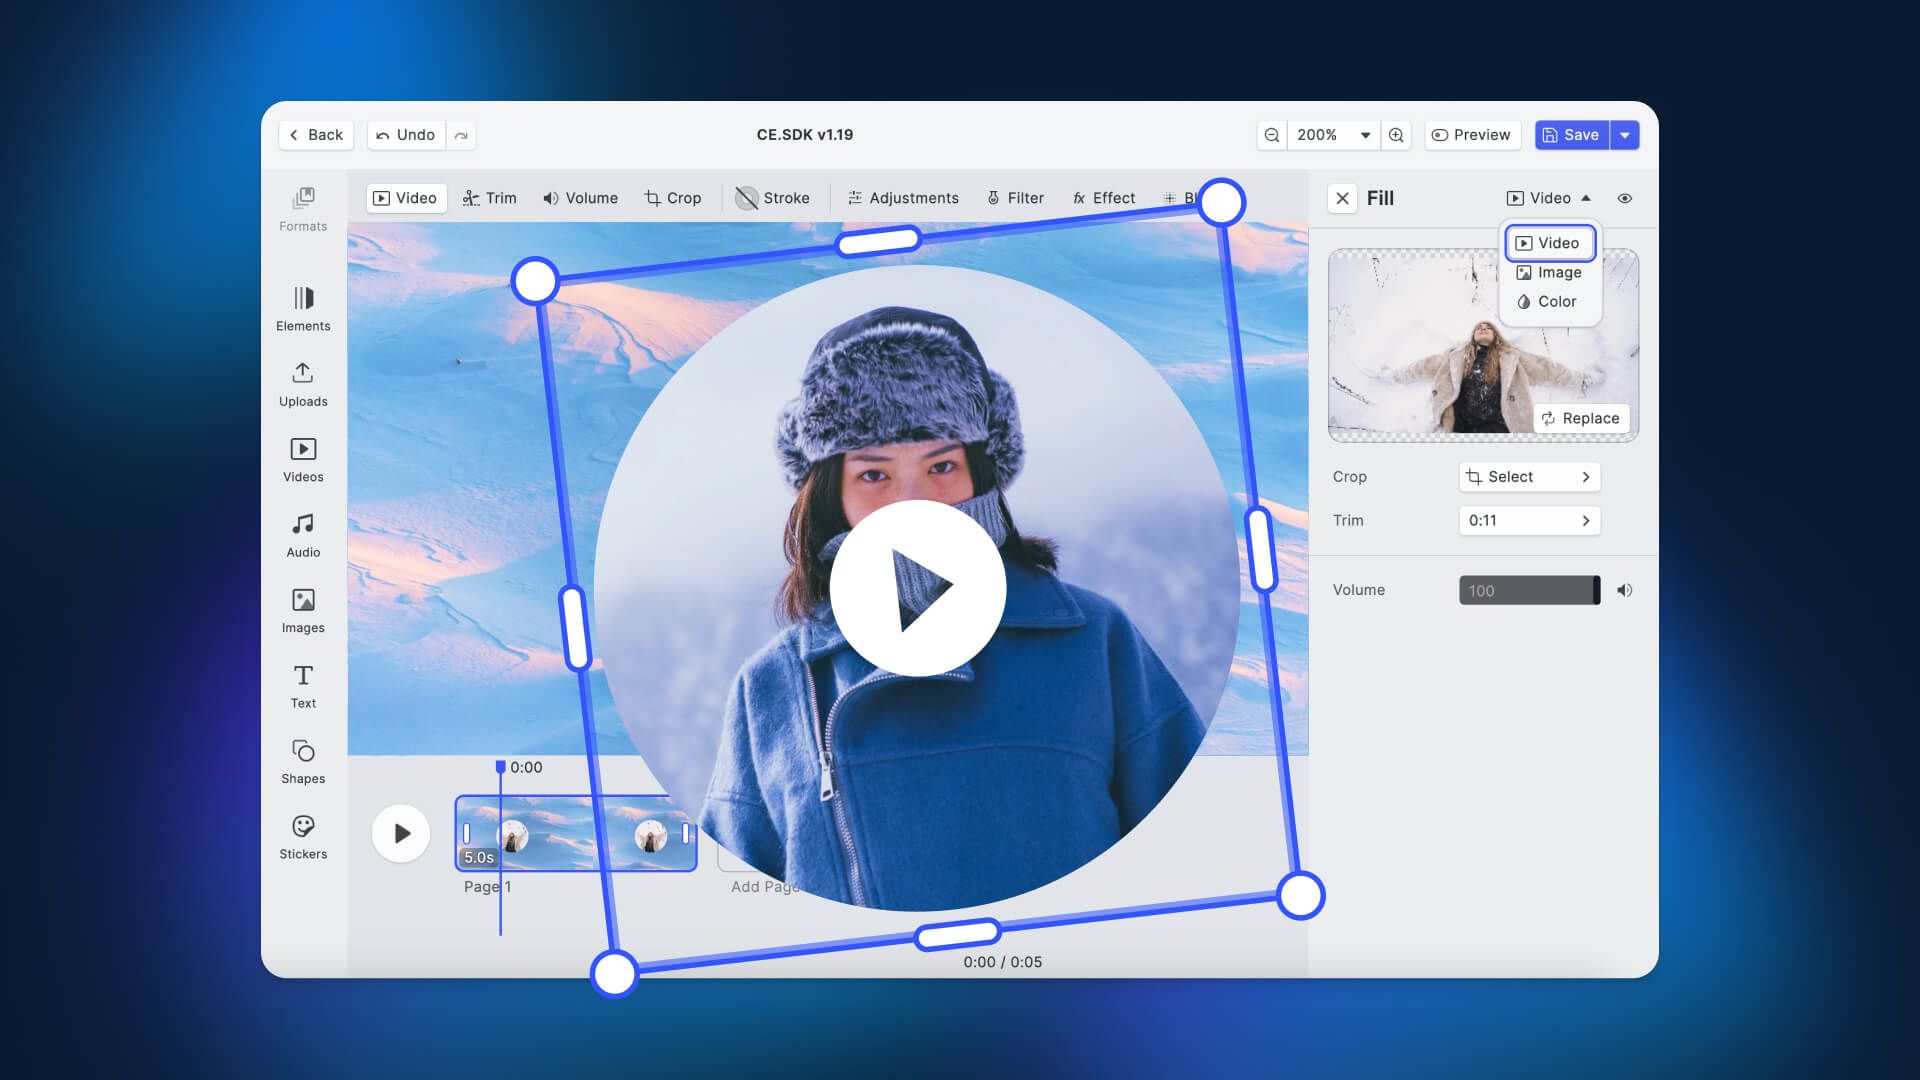
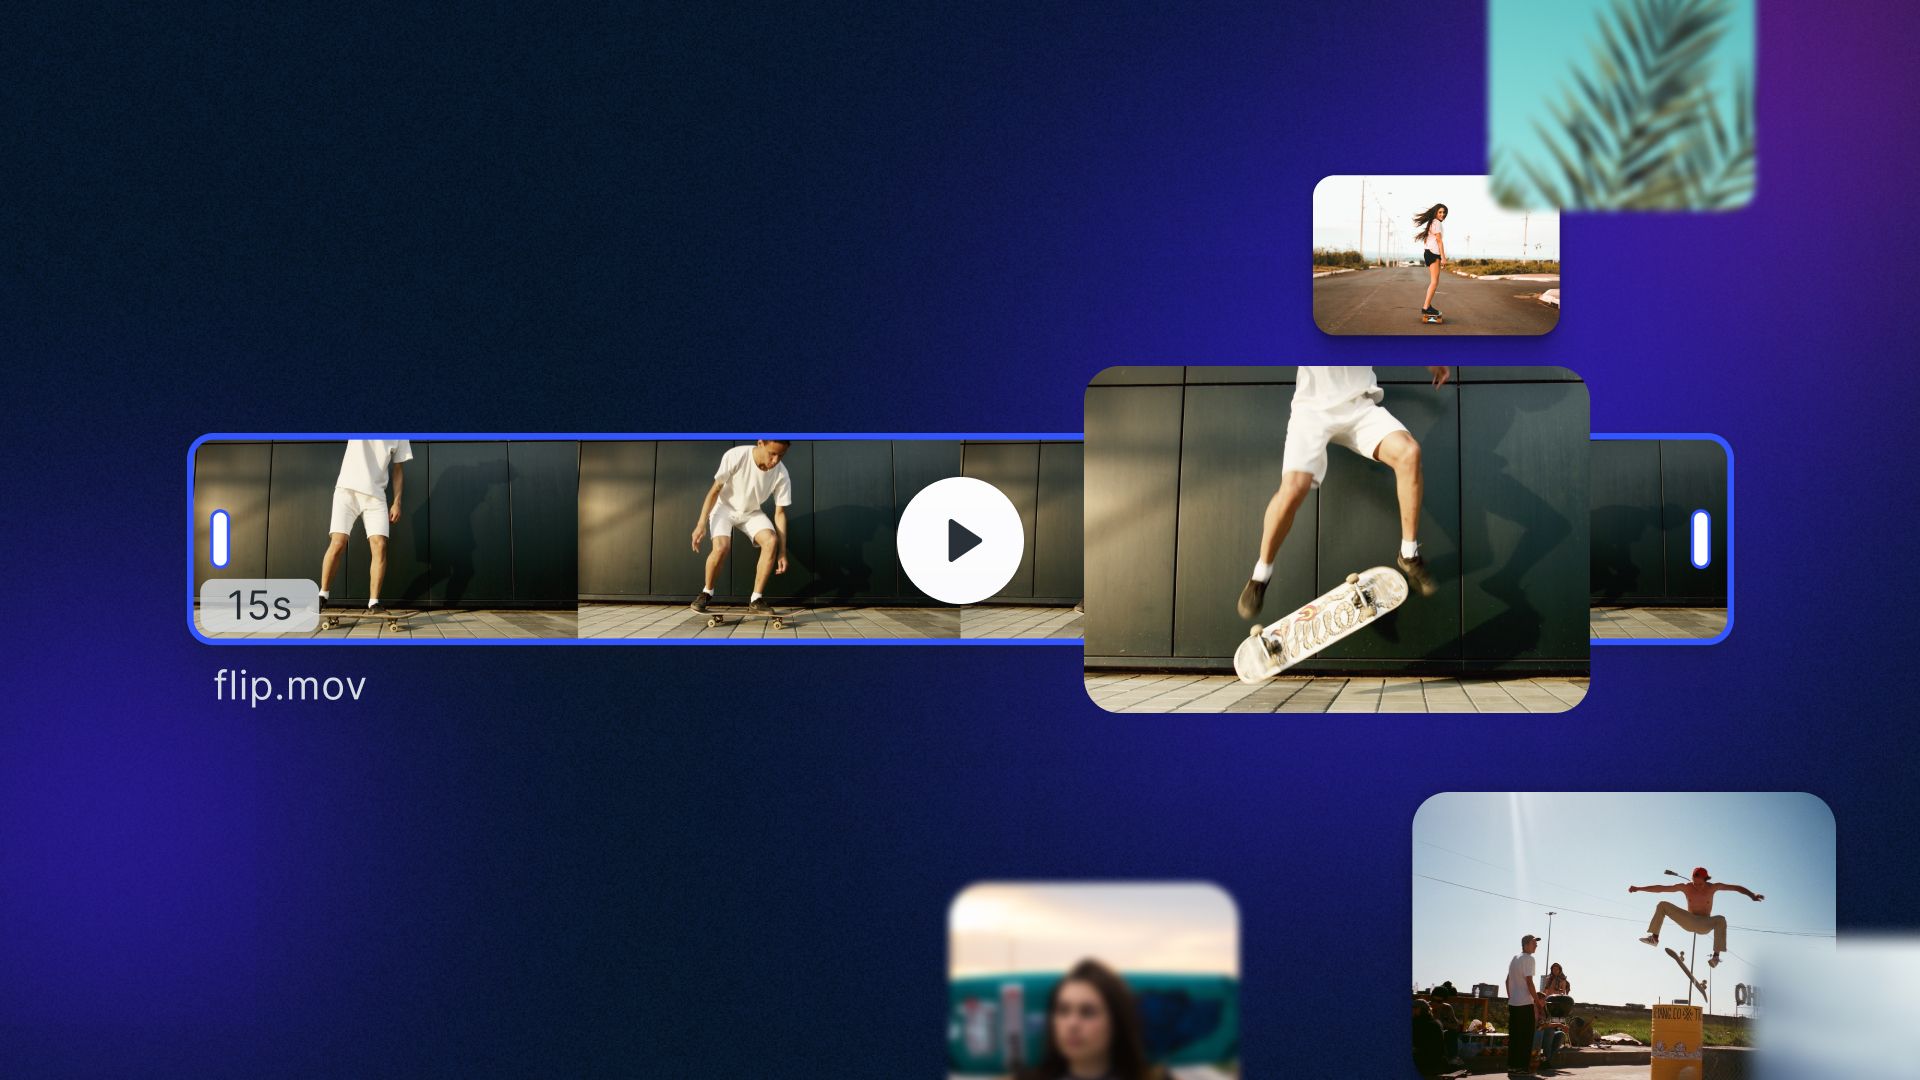
However, if you would like to offer more advanced sticker and overlay functionality to your user and you might need a more complex UI structure. Since this can be an extremely time consuming undertaking you might want to opt for a ready-to-use solution such as VideoEditor SDK which among a host of other essential video editing features allows users to easily add stickers and different overlays to their videos.
To replicate the example above, go to the official documentation to discover how to get started with VideoEditor SDK in Flutter. Try to upload your video file and modify it with various stickers, text and other overlays. Alternatively, you can download our free mobile demo app from the App Store or Google Play, and test a comprehensive set video editing tools.
Thanks for reading! To stay in the loop, subscribe to our Newsletter.