---
title: "How To Resize an Image in React"
description: "Quickly resize an image with the `react-image-file-resizer` React library."
url: "https://img.ly/blog/how-to-resize-an-image-in-react/"
type: "blog"
date: "2021-07-30"
author: "Antonello"
tags: ["React","App Development","Mobile App Development","Photo Editing","Tutorial","Tech","Developer","Code","Developer Tools","React Native","Software Development","How-To","Push2Medium"]
---
> This is the markdown version of [How To Resize an Image in React](https://img.ly/blog/how-to-resize-an-image-in-react/). For all pages in one file, see [llms-full.txt](https://img.ly/llms-full.txt). For an index of all available pages, see [llms.txt](https://img.ly/llms.txt).
---
In this article, you will see how to resize an image in JavaScript. In particular, here you will learn to achieve this goal with the `react-image-file-resizer` React library. If you are looking for a pure Javascript solution, [here's a quick rundown of the HTML API usage](https://img.ly/blog/how-to-resize-an-image-with-javascript.md).
Providing users with features to resize images has become almost unavoidable. This is because images are larger than ever. It is not a secret that the quality of the images and therefore their file sizes have been increasing for years.
The problem is that dealing with large files is time-consuming. Plus, it may cost money in bandwidth when uploading or downloading them. This is why it is so important to shrink the size of images by resizing them. Also, these issues fall on end-users, and this should be avoided.
So, let’s see how to resize an image in React with `react-image-file-resizer`. By following this step-by-step tutorial, you will achieve the following [result](https://codesandbox.io/s/how-to-resize-an-image-in-react-demo-forked-ip6fi):
## Prerequisites
This is the list of all the prerequisites for the demo application you are going to build:
- [Node.js and npm 5.2+ and higher](https://docs.npmjs.com/getting-started/)
- [`react-image-file-resizer`](https://www.npmjs.com/package/react-resize-image) >= 0.4.7
## Resizing an Image with `react-image-file-resizer`
You can clone the [GitHub repository that supports this article](https://github.com/imgly/Blog-How-To-Resize-an-Image-in-React) and try the demo application by launching the following commands:
```
git clone https://github.com/Tonel/resize-image-react-demo-imgly
cd resize-image-react-demo-imgly
npm i
npm start
```
Otherwise, you can continue following this tutorial and build the demo application step by step.
## 1\. Creating a React Project
Generate an empty working project in React with [Create React App](https://create-react-app.dev/docs/getting-started/), the officially supported way to create single-page React applications. You can initialize a new project called `react-image-resizer-demo` with the following command:
```
npx create-react-app react-image-resizer-demo
```
You will now have a demo project located in the `react-image-resizer-demo` folder with the following file structure:
```
react-image-resizer-demo
├── README.md
├── node_modules
├── package.json
├── .gitignore
├── public
│ ├── favicon.ico
│ ├── index.html
│ ├── logo192.png
│ ├── logo512.png
│ ├── manifest.json
│ └── robots.txt
└── src
├── App.css
├── App.js
├── App.test.js
├── index.css
├── index.js
├── logo.svg
├── reportWebVitals.js
└── setupTests.js
```
Move into the `react-image-resizer-demo` folder and start a local server by launching these commands:
```
cd react-image-resizer-demo
npm start
```
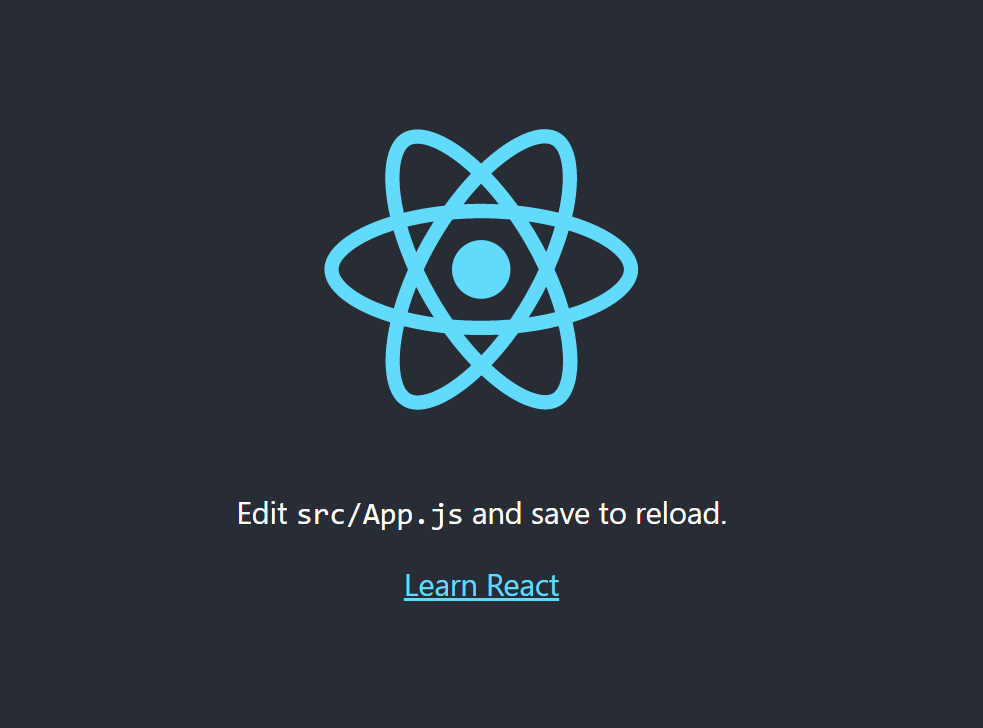
Reach [http://localhost:3000/](http://localhost:3000/) in your browser. You should now be able to see the default Create React App screen, as follows:
## 2\. Installing `react-image-file-resizer`
First, you have to add the `react-image-file-resizer` library to your project’s dependencies. You can do it by running the following command:
```
npm install --save react-image-file-resizer
```
Thus, your `package.json` file will be updated accordingly. You should now be able to spot `react-image-file-resizer` as a dependency.
Now, all prerequisites have been met. So, you can start building your image resizer component. Let’s see together how.
## 3\. Building the Image Resizer Component
First, make a `components` folder inside `src`. Then, create an `ImageResizer` folder containing `index.js` and `index.css`. These two files will contain the resizer component definition and style respectively.

Initialize `index.js` with the following snippet:
```javascript
import React from 'react';
function ImageResizer() {
return
{/*TODO*/}
;
}
export default ImageResizer;
```
This way, you have just defined an empty `ImageResizer` component.
Now, import the `Resizer` utility from the `react-image-file-resizer` library. Add it to the `ImageResizer` imports:
```
import Resizer from 'react-image-file-resizer'
```
This is what the final `ImageResizer` will look like:
```
import React, {useEffect, useState} from "react";
import Resizer from "react-image-file-resizer";
function ImageResize(props) {
const {imageToResize, onImageResized, resizeAspect, resizeQuality} = props;
const [imageToResizeUri, setImageToResizeUri] = useState();
const [imageToResizeWidth, setImageToResizeWidth] = useState();
const [imageToResizeHeight, setImageToResizeHeight] = useState();
useEffect(() => {
if (imageToResize) {
const reader = new FileReader();
reader.addEventListener('load', () => {
setImageToResizeUri(reader.result);
});
reader.readAsDataURL(imageToResize);
}
}, [imageToResize])
useEffect(() => {
if (imageToResize && imageToResizeWidth && imageToResizeHeight) {
Resizer.imageFileResizer(
imageToResize,
imageToResizeWidth * resizeAspect,
imageToResizeWidth * resizeAspect,
"JPEG",
resizeQuality,
0,
(uri) => {
onImageResized(uri)
},
"base64"
);
}
}, [
imageToResize, imageToResizeWidth, imageToResizeHeight,
onImageResized, resizeAspect, resizeQuality
]);
return (
{
const img = e.target;
setImageToResizeWidth(img.width);
setImageToResizeHeight(img.height);
}}
crossorigin="anonymous" // to avoid CORS-related problems
/>
);
}
ImageResize.defaultProps = {
onImageResized: () => {},
resizeAspect: 0.5,
resizeQuality: 100
}
export default ImageResize;
```
`imageToResize` is the source [Blob](https://developer.mozilla.org/en-US/docs/Web/API/Blob) representing the image received from the props. First, `imageToResize` is transformed into a [`Base64`](https://developer.mozilla.org/en-US/docs/Glossary/Base64) URI by the first [`useEffect()`](https://legacy.reactjs.org/docs/hooks-effect.html) function, and then showed. After being loaded by the `` HTML tag, the image’s width and height are saved to be used during the resizing operation. This is done by the second `useEffect()` function, which takes care of resizing the Blob image received by employing the `Resizer` utility.
Please, note that `resizeAspect` and `resizeQuality` are two props in charge of defining the resize aspect and quality percentage, respectively. By default, they are assigned to 0.5 and 100. This means that the resized image will be 50% smaller and no compression will be applied during the resizing process.
## 4\. Putting It All Together
Now, let’s see the `ImageResizer` component defined above in action. All you need to do, is change the `App.js` file as follows:
```javascript
import React, { useState } from 'react';
import './App.css';
import ImageResize from './components/ImageResizer';
function App() {
const [imageToResize, setImageToResize] = useState(undefined);
const [resizedImage, setResizedImage] = useState(undefined);
const onUploadFile = (event) => {
if (event.target.files && event.target.files.length > 0) {
setImageToResize(event.target.files[0]);
}
};
return (
Image Resizer
Please, upload an image and it will be showed both original and resized
by 50%
setResizedImage(resizedImage)}
/>
{resizedImage && (
Resized Image
)}
);
}
export default App;
```
The `input` element allows users to upload an image. This is stored in the `imageToResize` state variable, and then passed to `ImageResizer` as a props. This will take care of resizing it accordingly. The resulting resized image is saved thanks to the `setResizedImage` function, and finally displayed in the _Resize Image_ section.
If you are a Next.js user, you can use the [`` component to make it resize images for you](https://writech.run/blog/how-to-make-next-js-image-optimization-work-on-aws-elastic-beanstalk-2776ea255eff/). React will then render resized images automatically.
## Final Considerations on `react-image-file-resizer`
Resizing an image cannot be considered a complex task. However, using a library like `react-image-file-resizer` makes everything easier. In fact, you can achieve your goal with just a handful of lines of code. On the other hand, you should take into account what using such specific libraries implies. In fact, when you need to perform many image-related operations, you may be ending up with as many libraries as operations required.
Not only might they be complex to make them coexist, but they may have very different UIs as well. This is why, harnessing a commercial and more complete solution such as [`PhotoEditorSDK`](https://img.ly/products/photo-sdk.md) could be a better approach. With only one library, you would get several tools to deal with images as you need. This, while preserving the consistency of your application's UI. Plus, whenever you need help, you can ask for support from the [img.ly](https://img.ly/index.md?utm_source=imgly&utm_medium=blog&utm_campaign=howtos) developers who built the SDK.
## Resizing an Image with PhotoEditorSDK
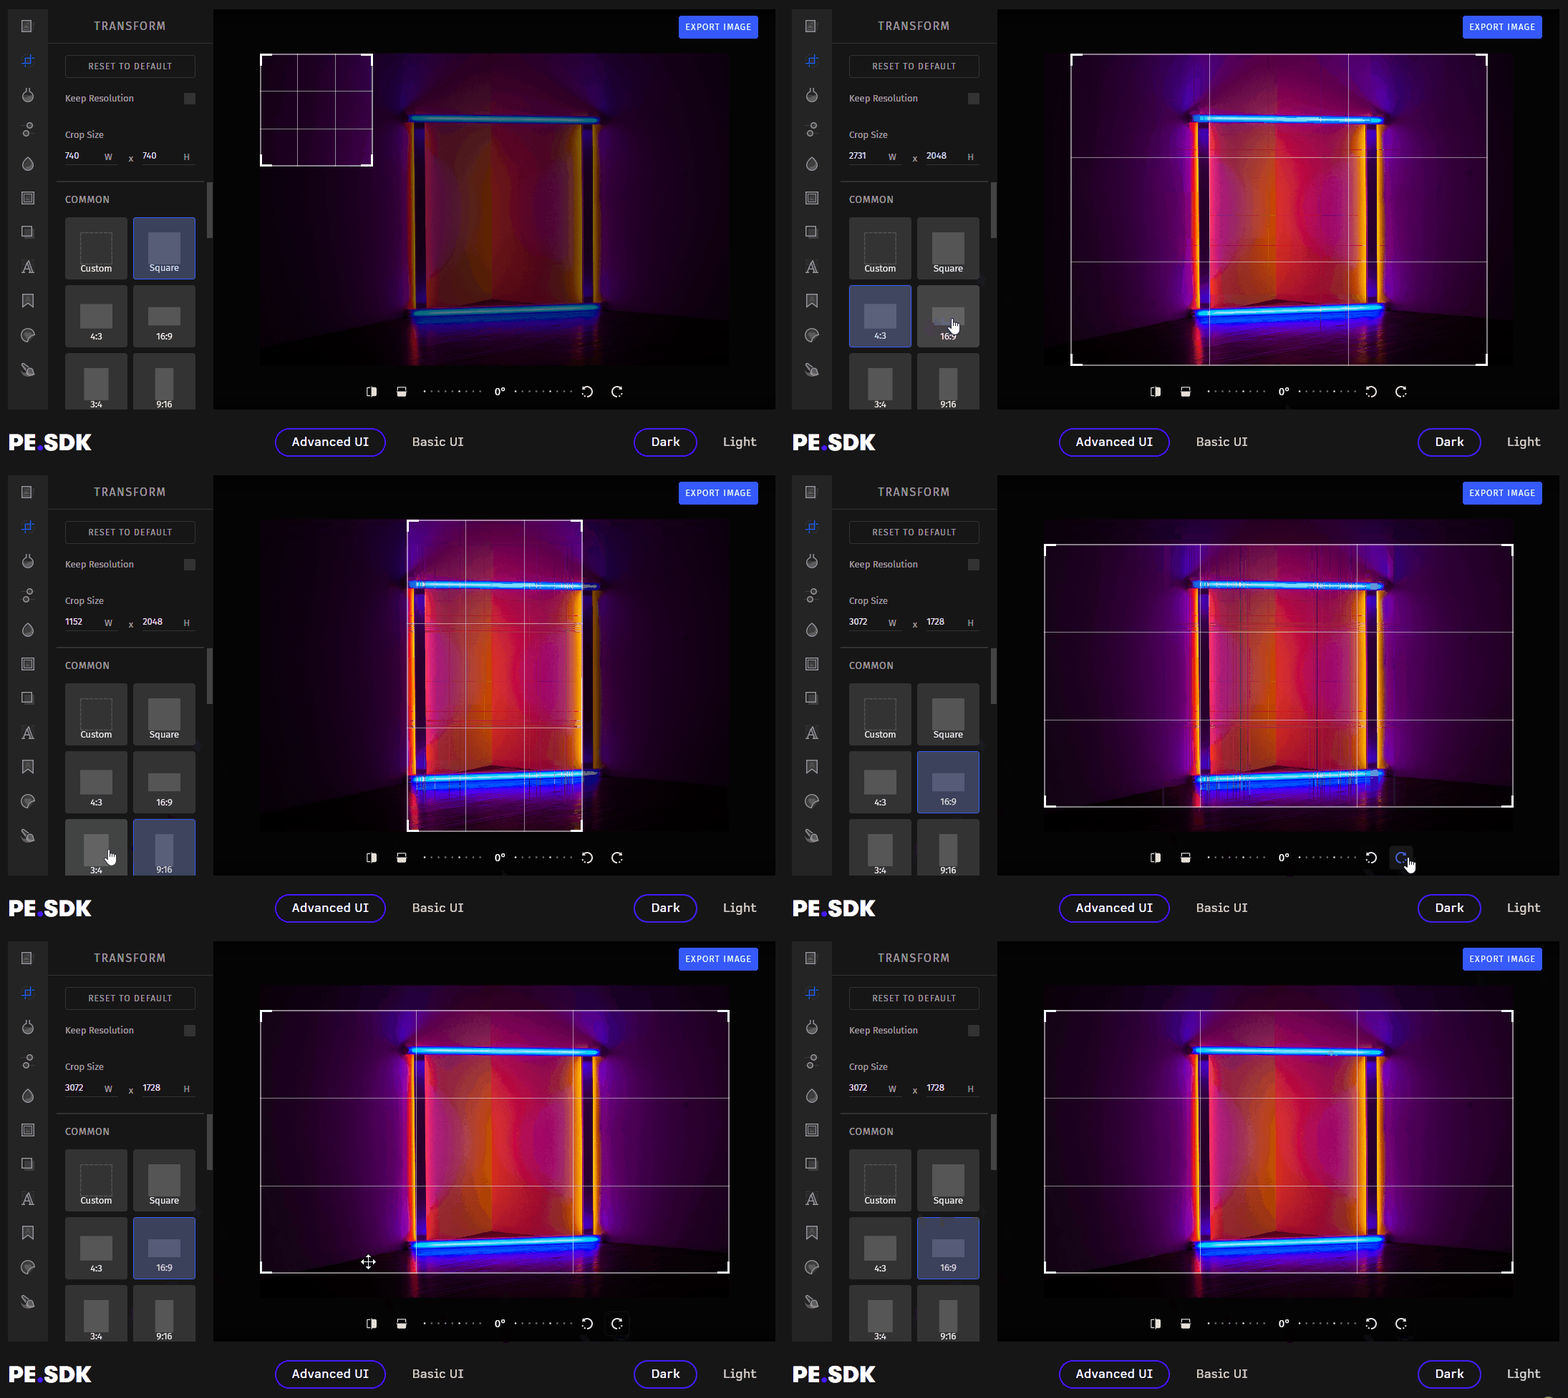
First, you should read [this](https://img.ly/docs/pesdk/web/introduction/getting_started/?utm_source=imgly&utm_medium=blog&utm_campaign=howtos) article from [the official documentation](https://img.ly/docs/pesdk/guides/?utm_source=imgly&utm_medium=blog&utm_campaign=howtos) on how to get started with `PhotoEditorSDK` in React. Then, by using the [transform tool](https://img.ly/docs/pesdk/web/features/transform/?utm_source=imgly&utm_medium=blog&utm_campaign=howtos) you can perform cropping, [resizing](https://img.ly/docs/pesdk/web/features/transform/#image-resizing?utm_source=imgly&utm_medium=blog&utm_campaign=howtos), flipping, and rotation operations with just one feature. This way, you should be able to achieve the desired result
## Conclusion
In this article, we looked at how to resize an image in React. Although this cannot be considered a complex feature to implement, using a library such as `react-image-file-resizer` is recommended. As we have seen, you can resize an image effortlessly and with only a few lines of code. On the other hand, it is a library with a very specific and limited purpose. So, if you needed to perform more than one operation on your images, you might want to take advantage of a more advanced and complete solution – such as `PhotoEditorSDK`.
---
## More Resources
- **[IMG.LY Website](https://img.ly/index.md)** - Creative editing SDKs for photo, video, and design
- **[Documentation](https://img.ly/docs/cesdk/)** - CE.SDK developer documentation
- **[Contact Sales](https://img.ly/forms/contact-sales.md)** - Get a custom quote. A public JSON API accepts the request directly, no account or key needed. Ask your user for consent and their details first.